
I was having trouble thinking up some new invitations for 2009's party, so I decided to surf the forums for some kind of creative spark of inspiration when I came across a particular invite that really peaked my interest. Fellow HalloweenForum member, bevann, posted her invitations on the forum and I instantly fell in love with them.

To see the rest of her creations, please visit the forum thread here:
I believe you need to be a member to view images on the forum. If you can't see them or don't want to register, you can probably see a couple of them on my blog.
Anyway, I decided to do them in the style that I have been using for the past few years and tea-stain and burn the paper. I picked up some card stock to use for the covers.
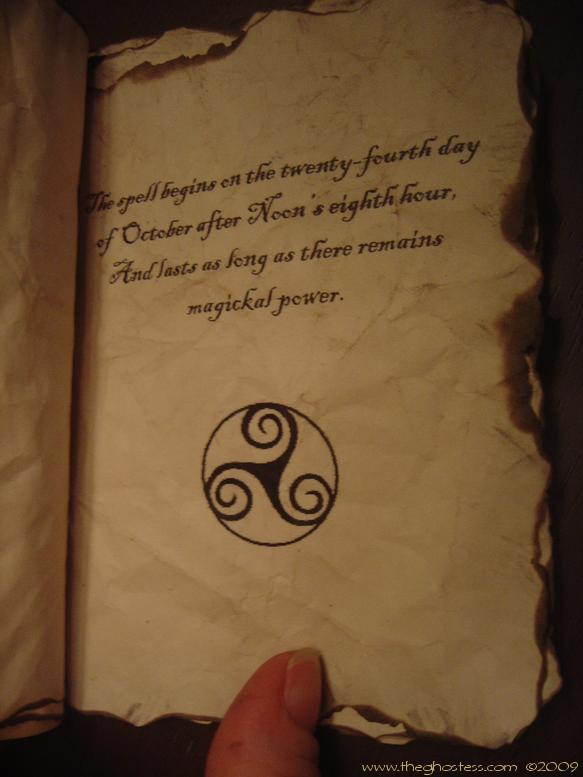
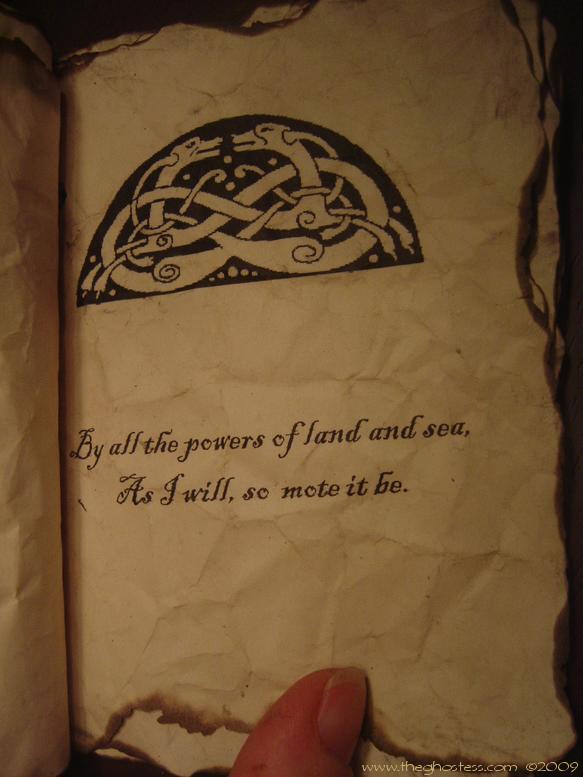
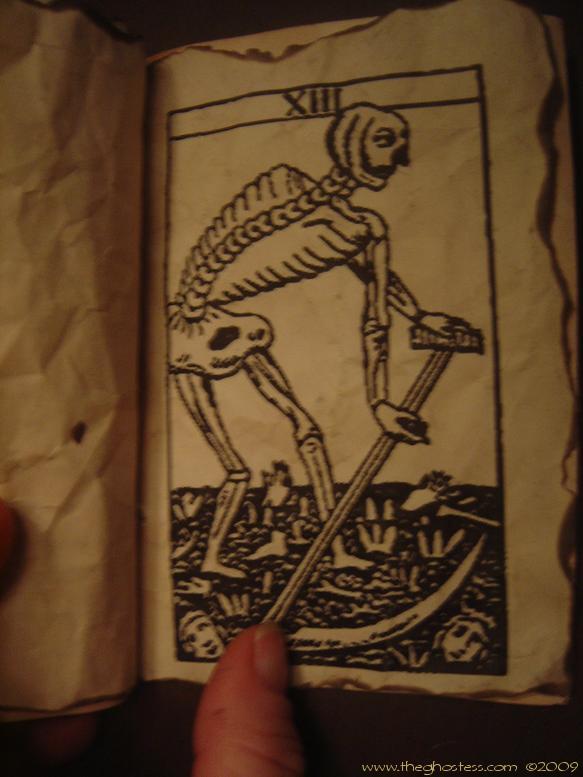
I worked for several days on the little poems for the project. They're my own work, except for the "By the powers of land and sea....So mote it be" part. (That's an actual phrase from witch use.) This is what I ended up with:
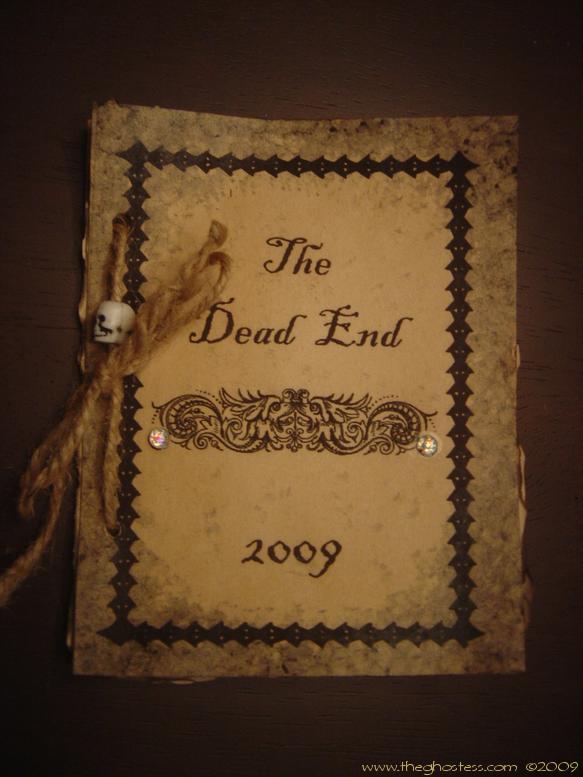
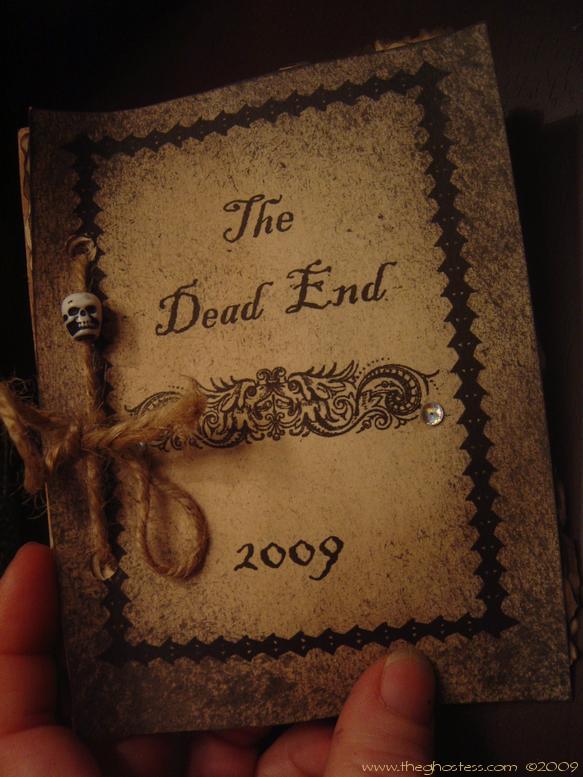
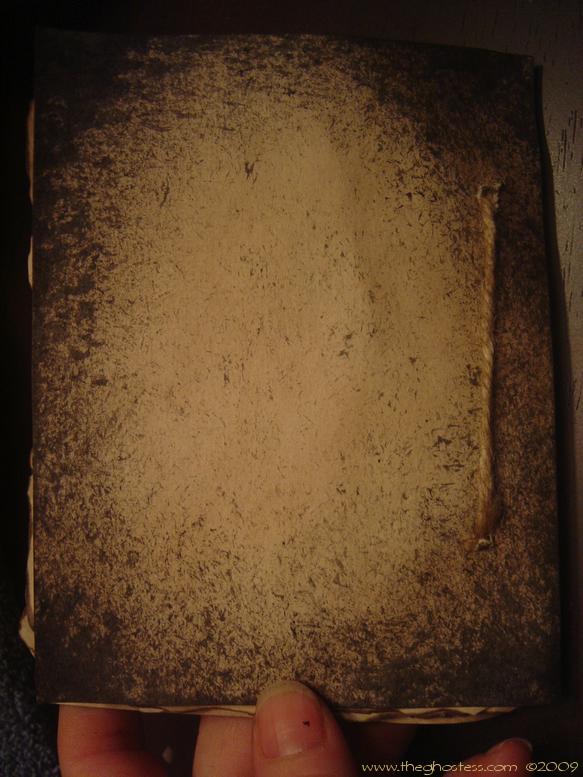
There are 12 hand-crumpled pages in this little book, all with burned edges and tea-stained. I hand-stippled the edges of the front and back covers made from card stock, and tea-stained them as well. Then I drilled 2 holes along the side (my hole punch couldn't handle the stress), and tied them off with a foot of twine with a little skull bead on each one. I also glue a couple of faux crystals on each one for a little bling.
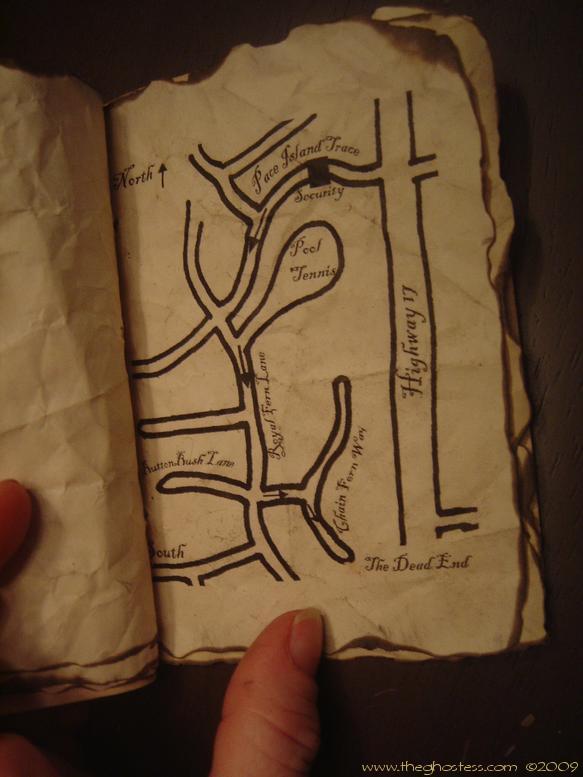
These are the individual pages:


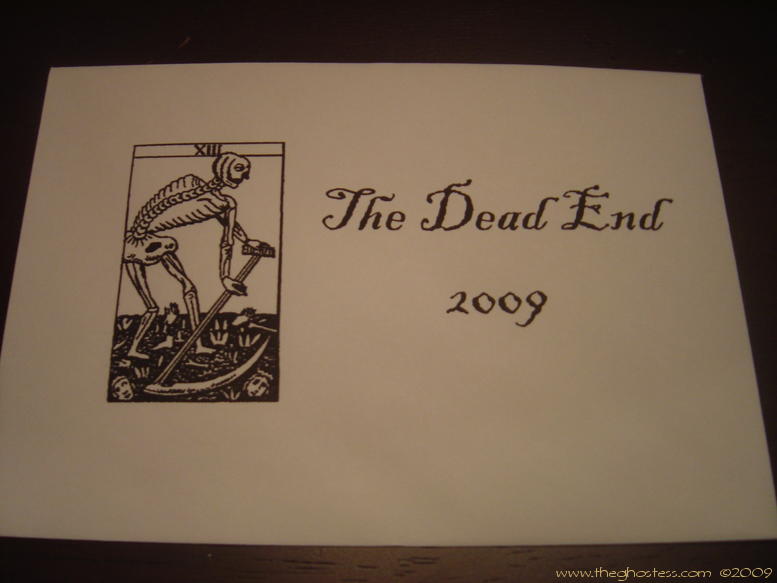
And the cover:
They were very time-consuming to make, so I wouldn't suggest them unless you're only inviting a few people. It took me about 15-20 minutes per invitation when I added up how long I spent on each step. Here's the step-by-step of how I made them for those who want to know:
Basically, I started just like I did with the previous years, and found images and put together my wording all in Microsoft Publisher. I spaced them so that I had 4 small pages on one sheet of paper. Then I measured and quartered the sheets of paper and employed my two daughters in the crumpling of the individual little sheets of paper. (This saved me a LOT of time, since there are 1200 mini-pages in all and the girls work really cheap - for candy.)

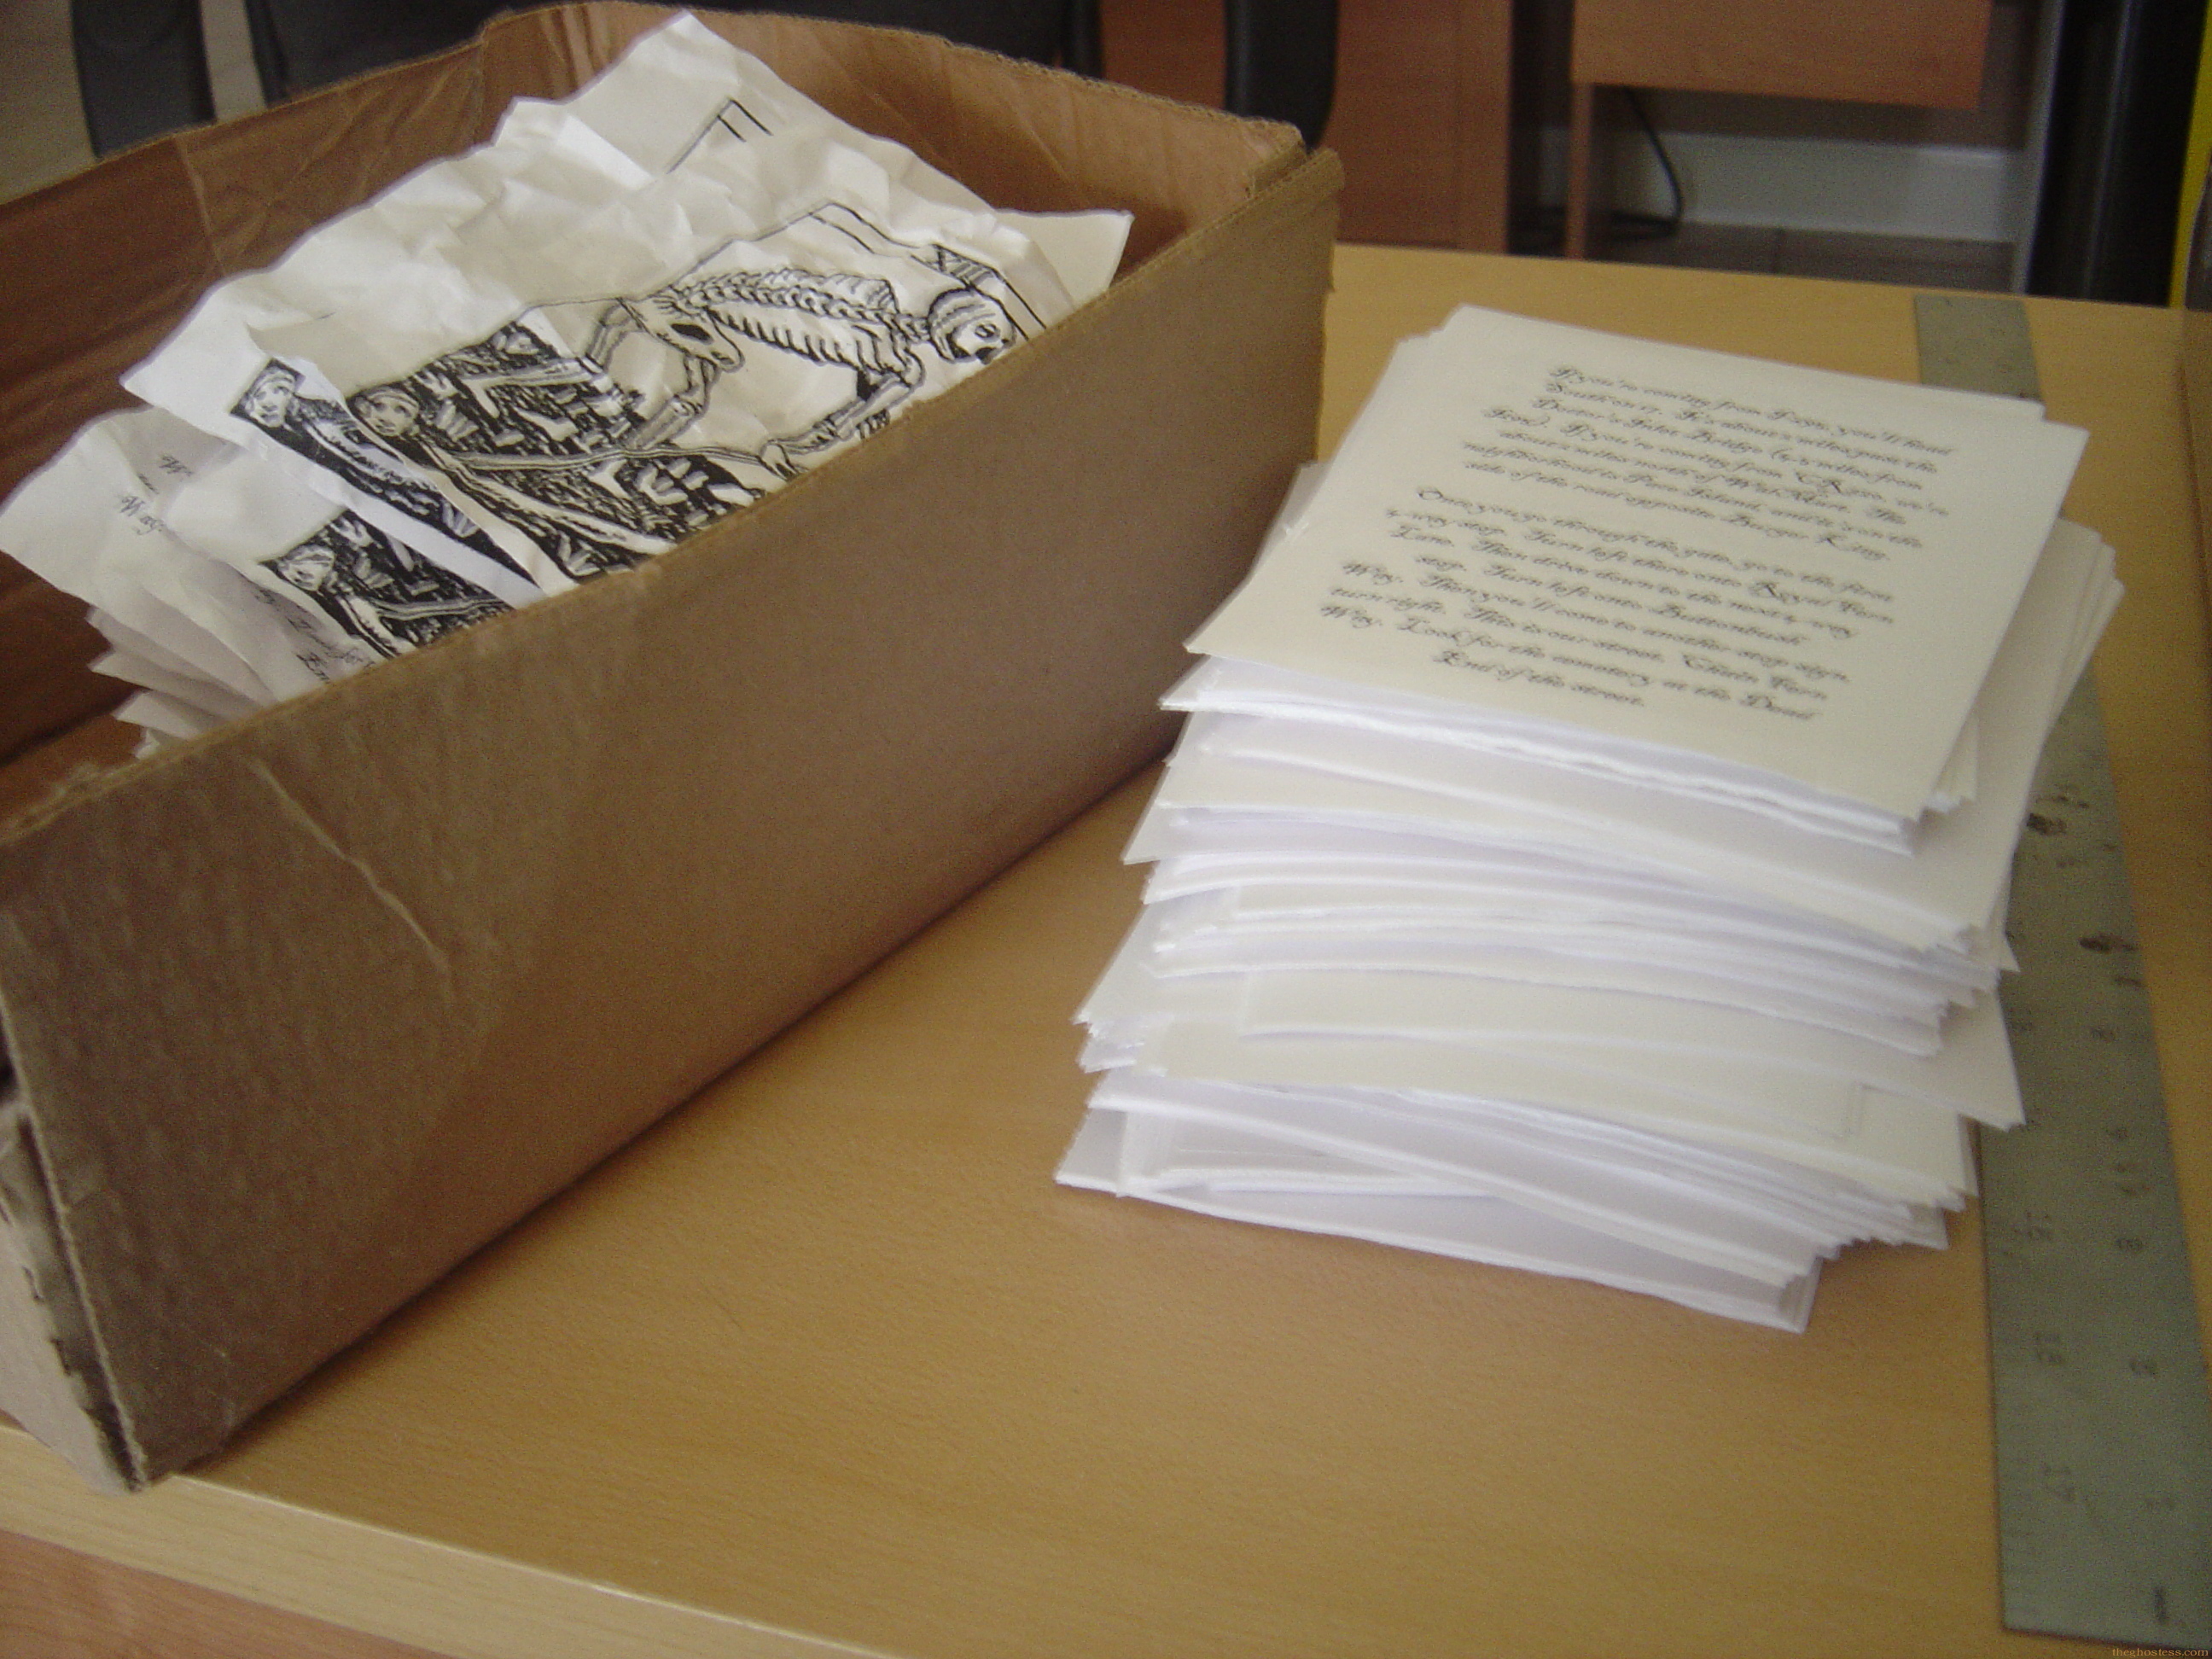

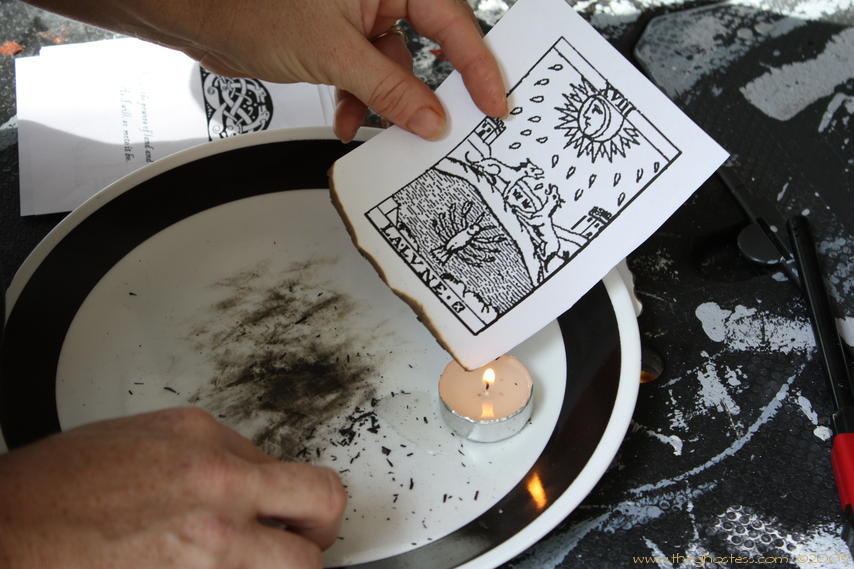
Next I burned the edges of each little page, taking care not to burn too far in so I don't lose any of the words. I burned about 30 at a time, then put them in a tea-soak while I burned another batch. For tea-staining, I used about 8 regular generic tea bags, and about 4 cups of water. Once the tea started to boil, I transferred it to a ceramic baking dish. I submerged the paper into the tea and let it sit for about 10 minutes. Then I use a small spatula and scoop the paper out page by page so I didn't tear them, and placed them on old towels on top of the counter, tables, and washer and dryer so they could dry completely. I did heat the tea up after it cooled off too much. The warmer the tea, the darker the stain. Be sure to wear gloves of some sort when handling the tea and paper, otherwise you'll look like you've been digging in the dirt. :) I had to change out the tea for a new batch after about an hour's worth of work.
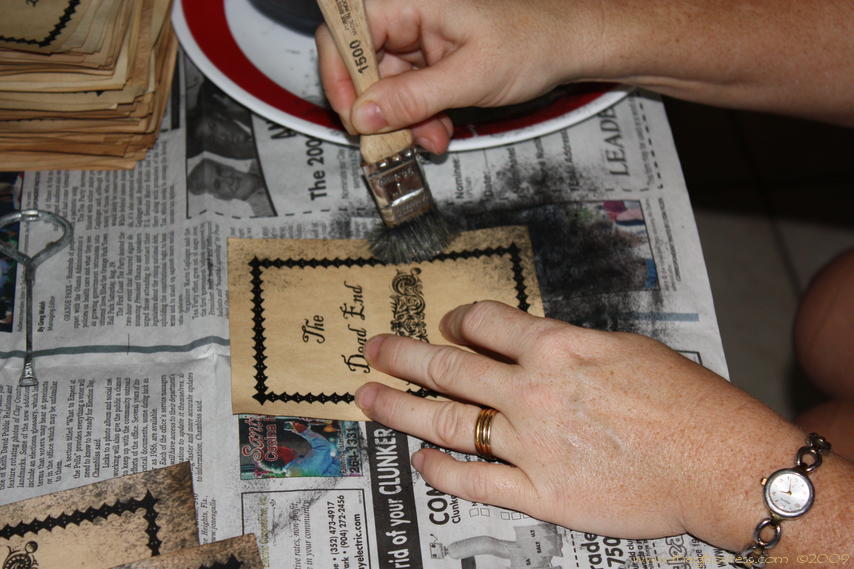
I used the same technique for doing the front and back covers of the books, only I didn't crumple them. I just cut plain sheets of white card stock into quarters for the back, and made another template for the covers, 4 on each page. Once they were tea-stained and dried, I stippled them. This involved my having to make my own stippling brush since I forgot to buy one while I was out and about on my day off. I just took a simple 75¢ chip brush from Home Depot and cut the bristles to make the brush only about 3/4 inch long and flat across. Then I watered down some black latex paint, put a tiny bit on the edge of the brush, dabbed the brus on some newspaper to get the excess off and then dabbed it onto the edges of the covers. This involved being mean to the brush and squishing it down. You can see sort of how it worked in the pics below. This is something I had to practice a bit before actually working on one of the actual covers, to get a feel for it. I was going for dirty, aged edges. This doesn't require hardly any paint at all, so if you try it, be VERY sparing with the paint on the brush. You want it almost dry.

After the paint was dry, I glued some tiny faux crystals onto some round designs on the dragon graphic that I chose. I should have gone with a different color, but I already had these laying around. I used some craft glue to hold them down. When everything was all dry, I laid out my pages covers and pages in order of how I wanted them to appear in the books, and put them all together, one book at a time. I started to use 2 different hole punchers, but neither of them could handle going through all those pages, and they broke. So I pulled out the power tools! I just used my drill and drilled the holes through all 14 pages at the same time. I inserted the twine, pulled a skull bead onto the top end, then tied it off in a bow. That's pretty much it. I did print off some envelopes to deliver them in, but I wanted something else to cover the ones that are to be hand-delivered. Haven't quite figured out what to do though. These are the envelopes:
I may have more pics to come, as I work on more of these. I only made one batch from start to finish so far, for those people at work who have to request the time off in advance. Thanks to Bevann for sharing her invitations, they were absolutely FABULOUS and were great inspiration for me!


All information contained on this website www.theghostess.com is provided for FREE, is intended for entertainment purposes and general sharing, and may not be reproduced without express permission from the website owner. If you have been sold information regarding or taken from this website, please contact the admin at the link in the navigation menu. Copyright 1999-2015, The Dead End.