2017 Party Invitations |
I really liked the witch potion bottles that I've done before, so I decided to make them again as a keepsake for my party invitaitions since a lot of our guests have not seen these yet.
|
|
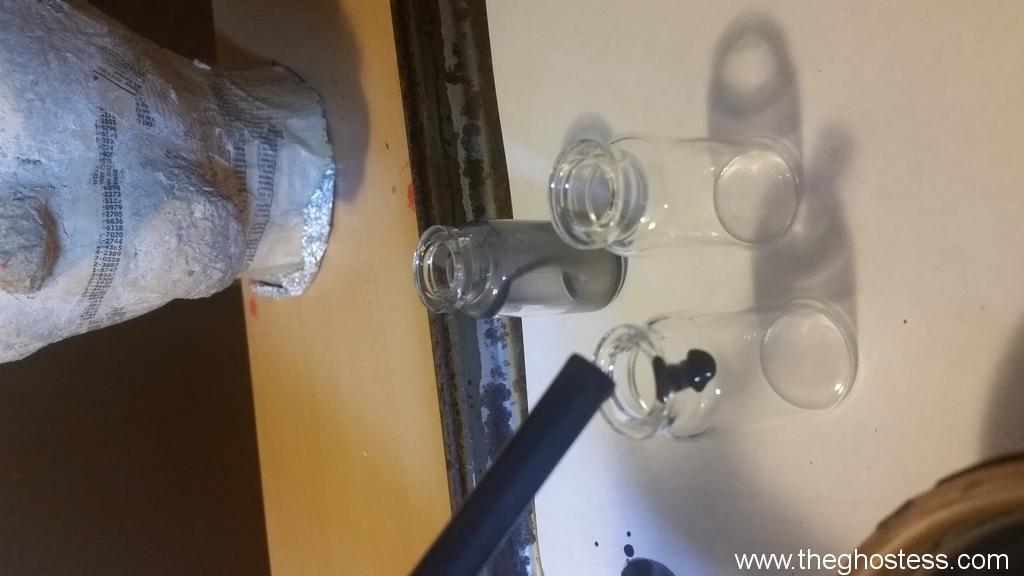
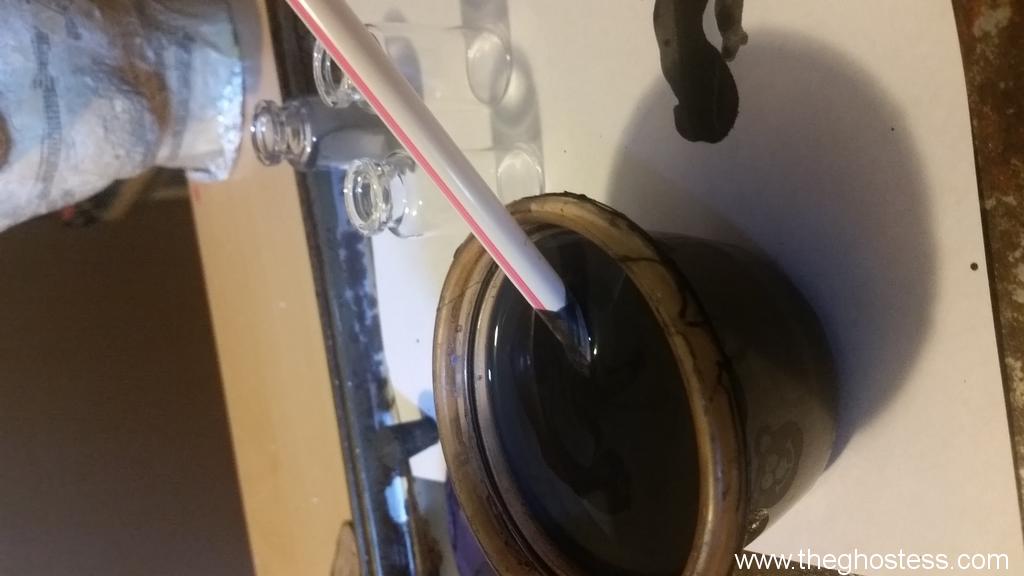
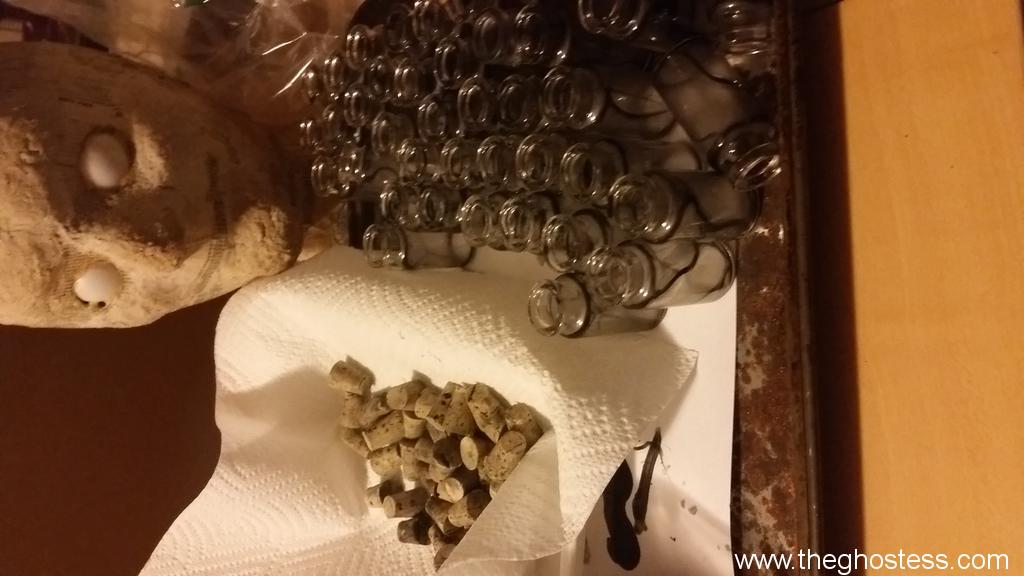
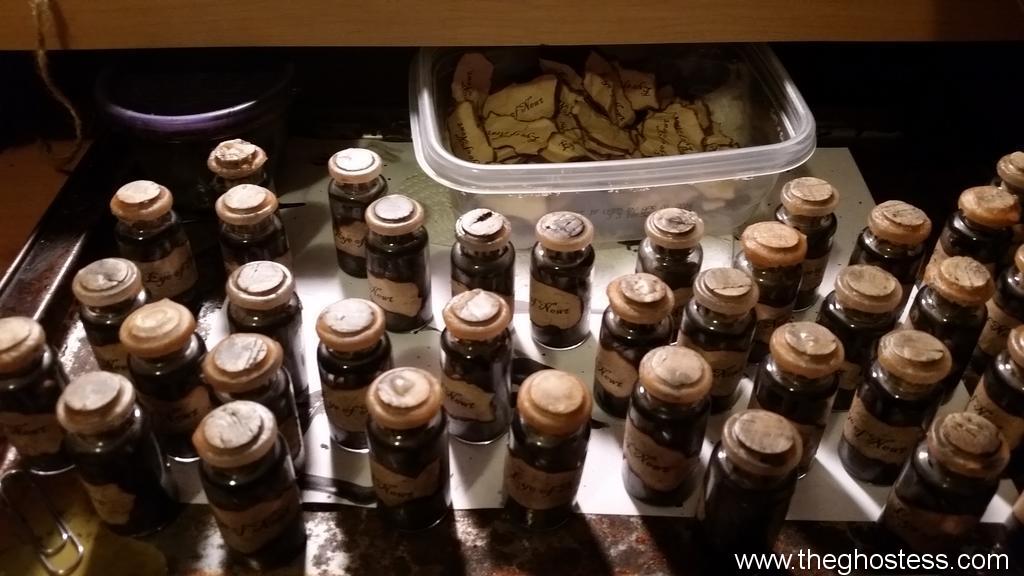
I started with some small, clear wide-mouth 10 mL bottles that I bought from American Sci Plus (item # 42340P20). I diluted some black latex paint from a room painting project with water, about half and half. I used a straw to drop it into the bottles, just a few drops in each one, and worked one bottle at a time. |
|
|
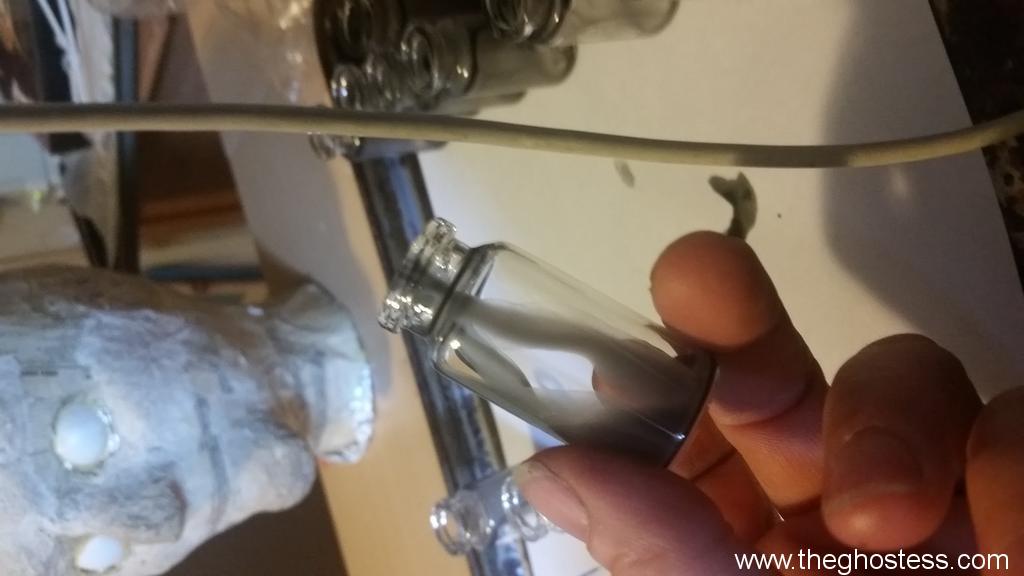
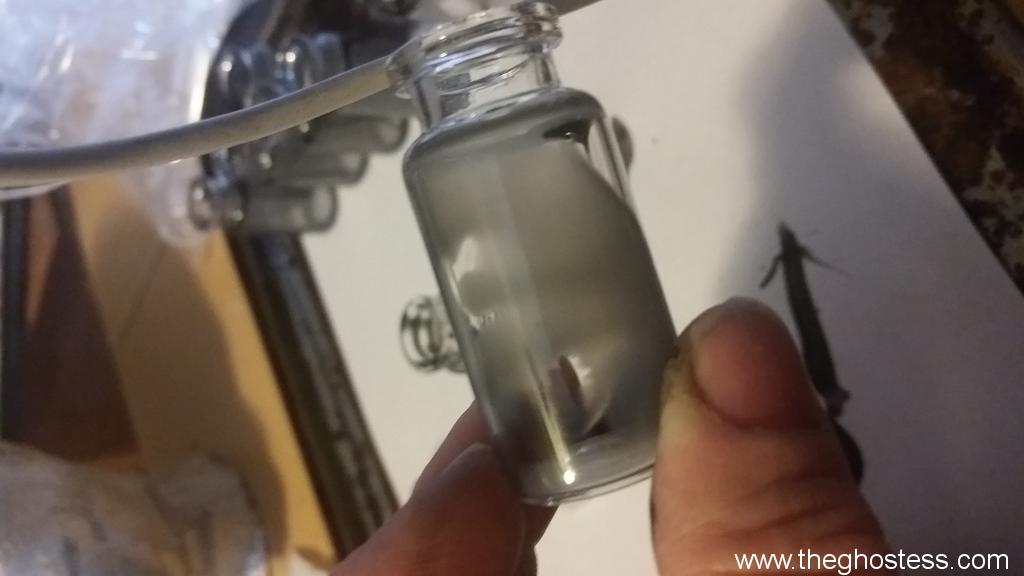
I then tilted the bottle to the side, and rotated it so that the paint coated a good portion of the inside of the bottle. I didn't coat the entire inside, and left some spots clear. This gives it that used, dirty, milky look. |
|
|
I set them upright to dry, making sure to watch them and make sure there's not too much paint pooling in the bottom of the bottles.
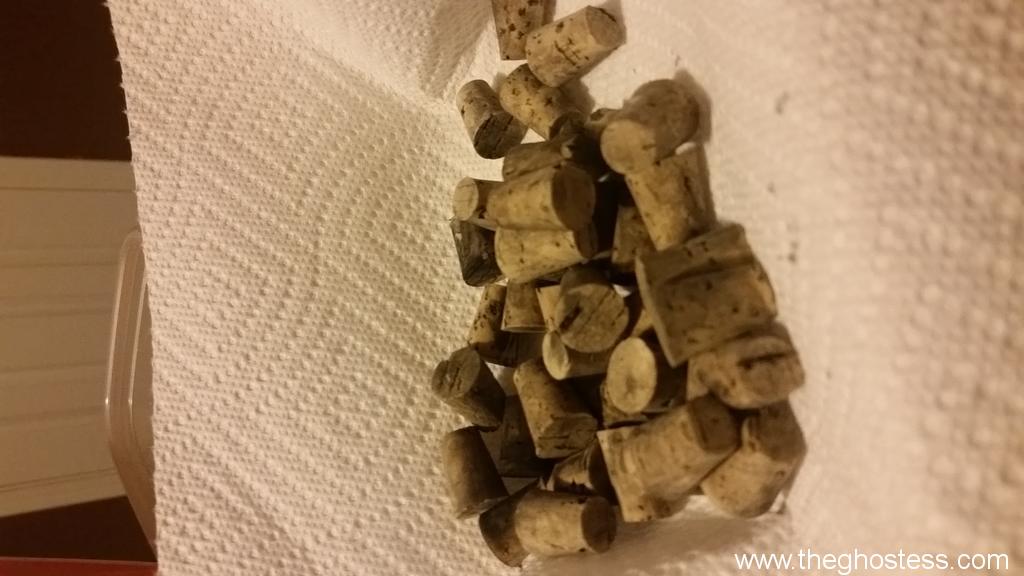
I used the same paint to coat the corks (item# 88748P20 from SciPlus) and let them dry on a paper towel.
|
|
|
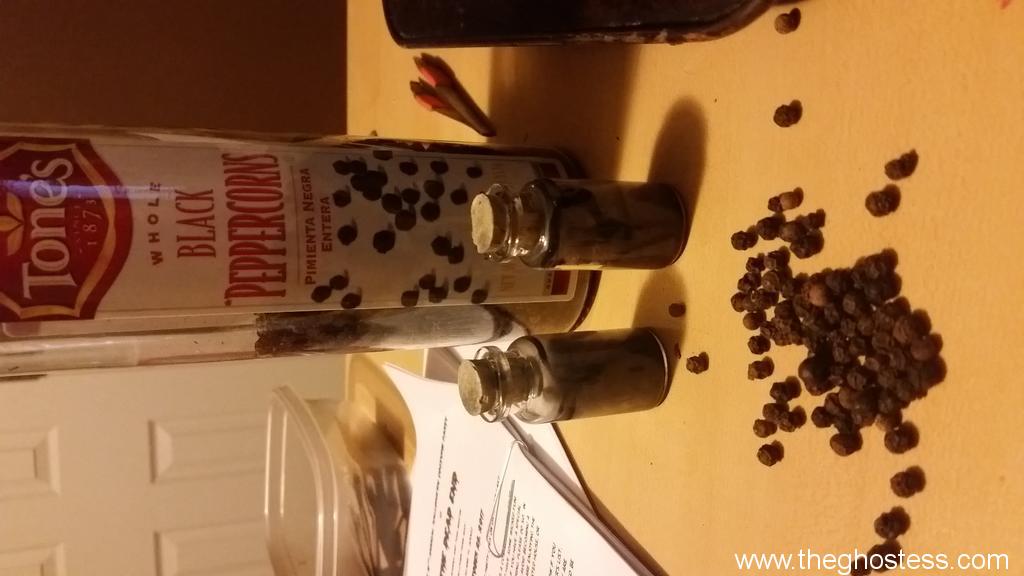
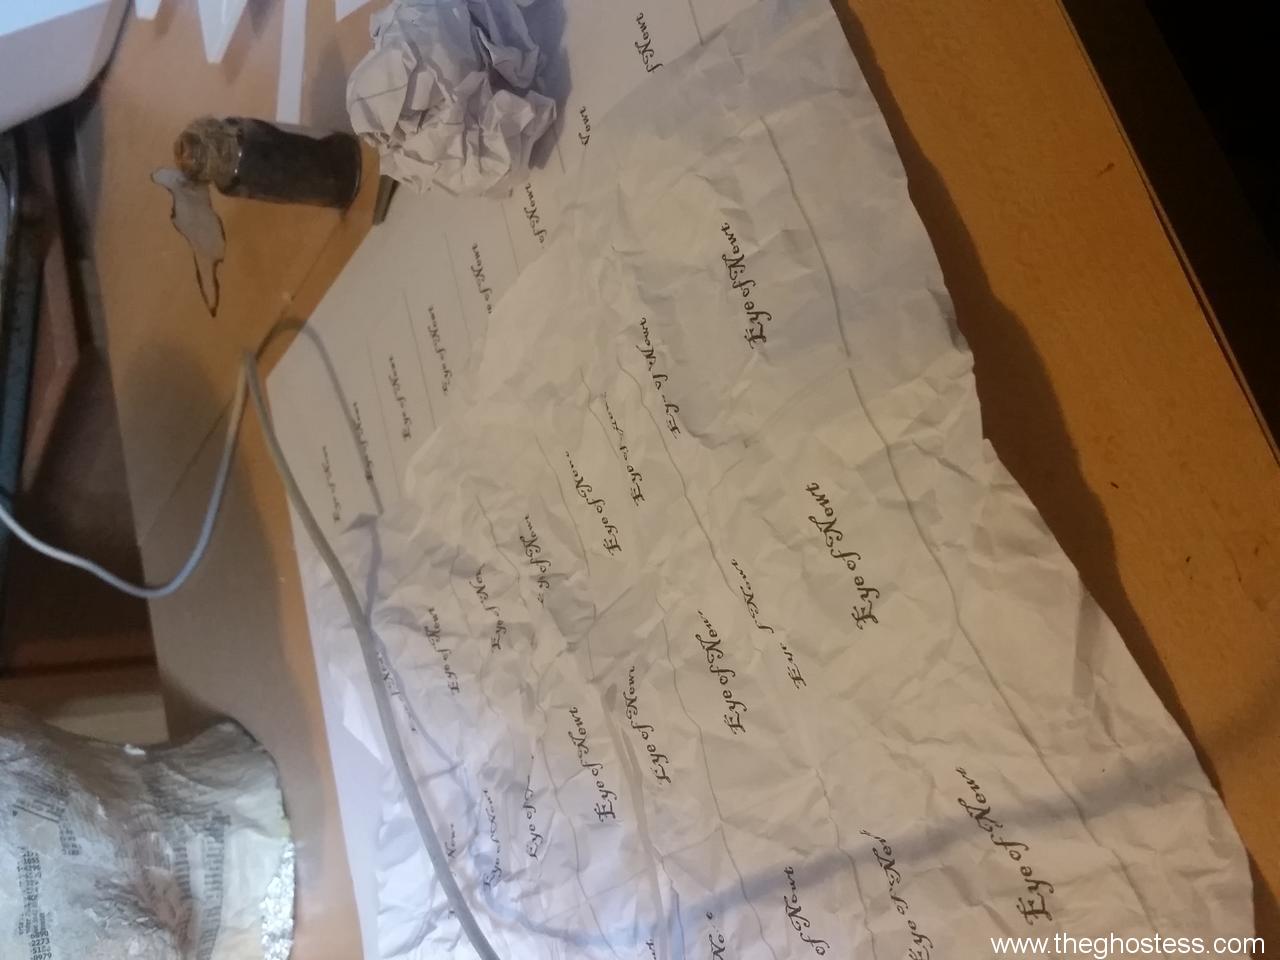
I use whole black peppercorns, the cheapest ones I could find at the time, as the dried "eye of newt". |
|
|
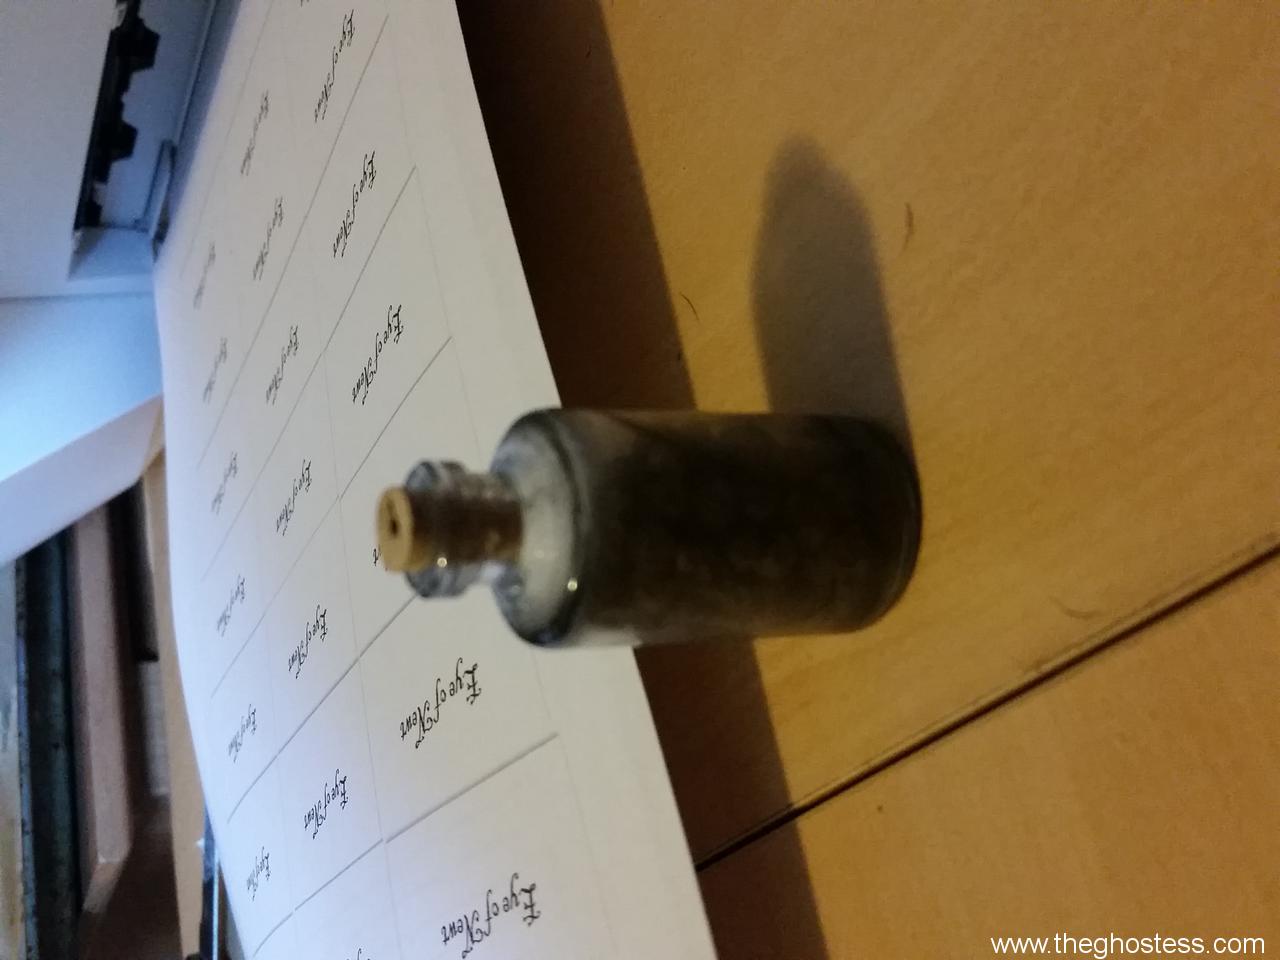
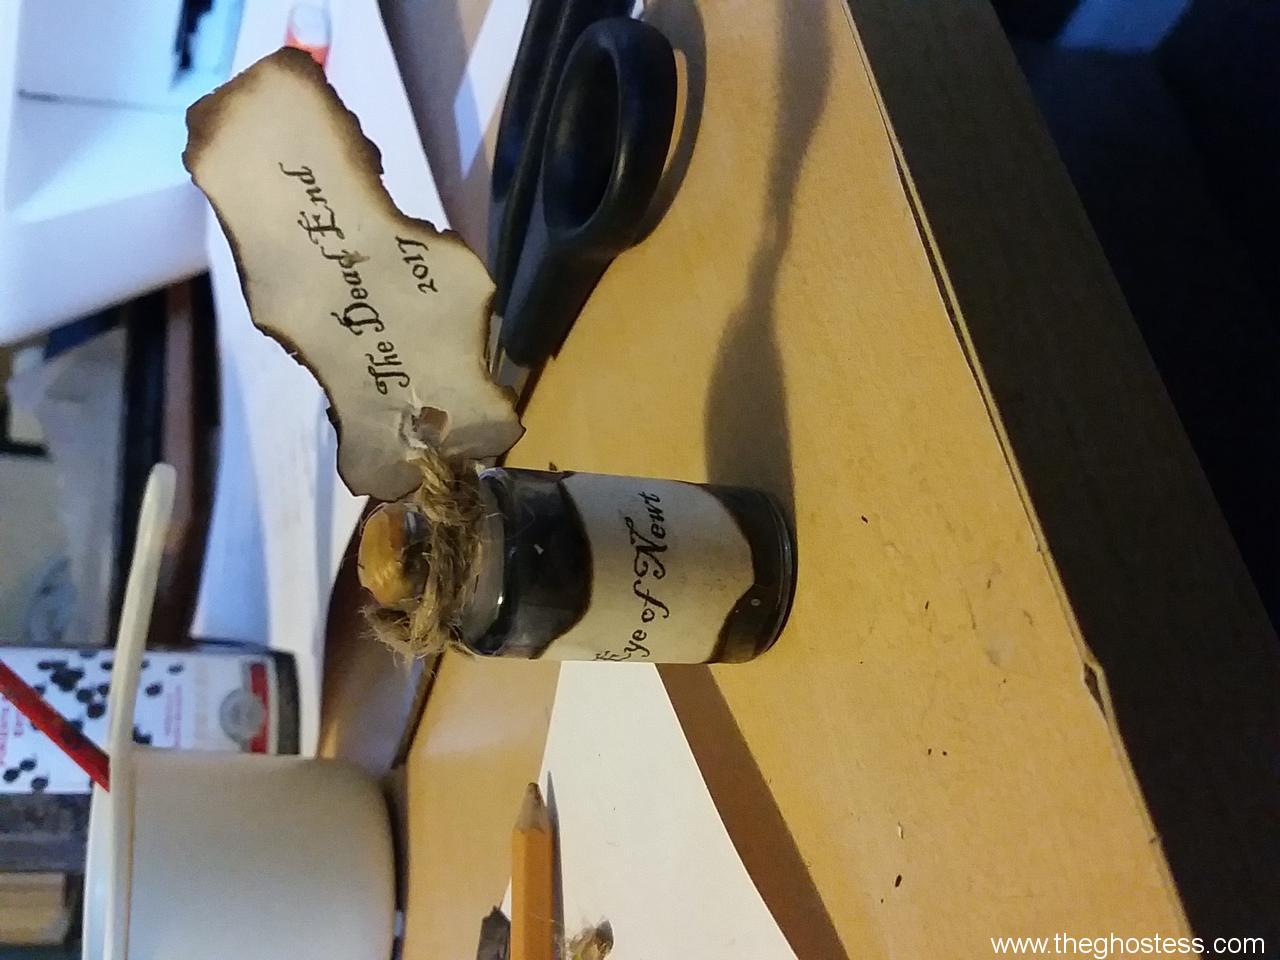
Pictured left is one of the old bottles from the first time I made these. The mouth of the bottles were much smaller on them. I printed out my labels and crumpled the pages up. |
|
|
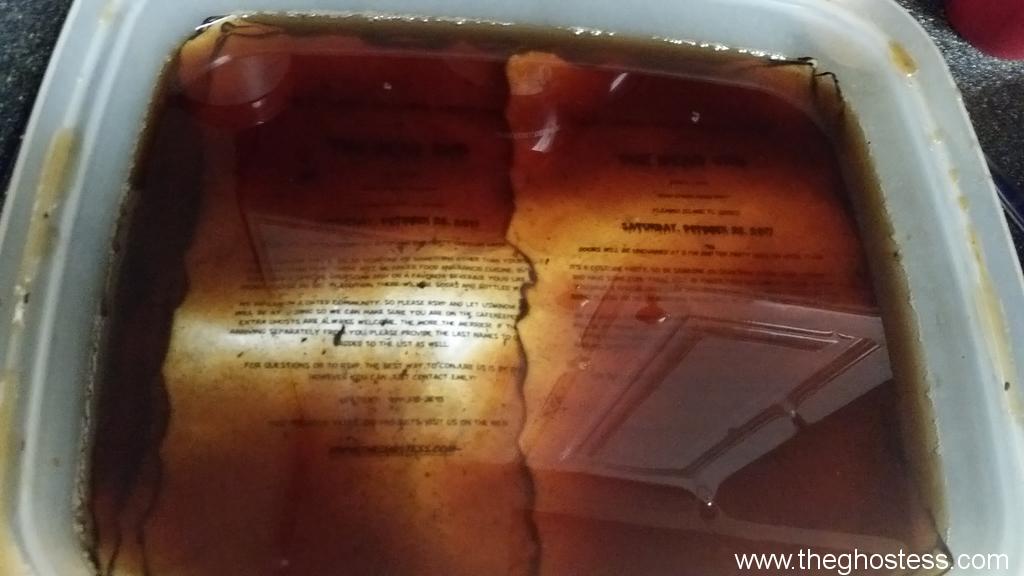
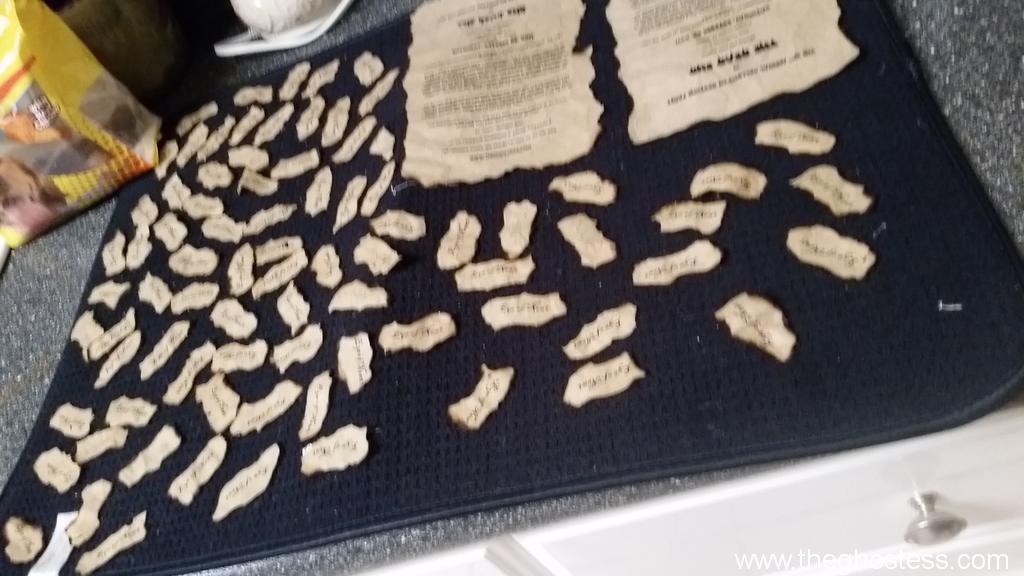
I also went ahead and printed up the invitation wording pages, and tags made from cardstock, and everything got tea-stained and edges burned. |
|
|
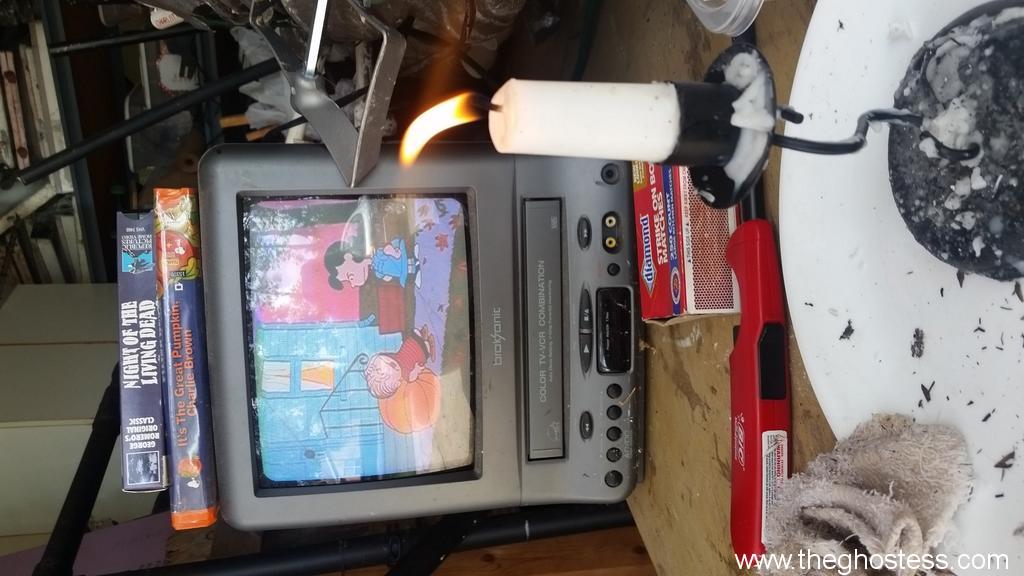
I used an old orange unscented candle and melted it to dip the tops of the bottles with the corks inserted into to give them a little seal of sorts. Then I used my good old white glue/water method to attach the dried labels to the bottles. For extra measure, I like to put a coat of clear laquer or poly on the labels. |
|
|
Then I take a little twine and wrap it around the mouth of the bottle and tie the tags on.
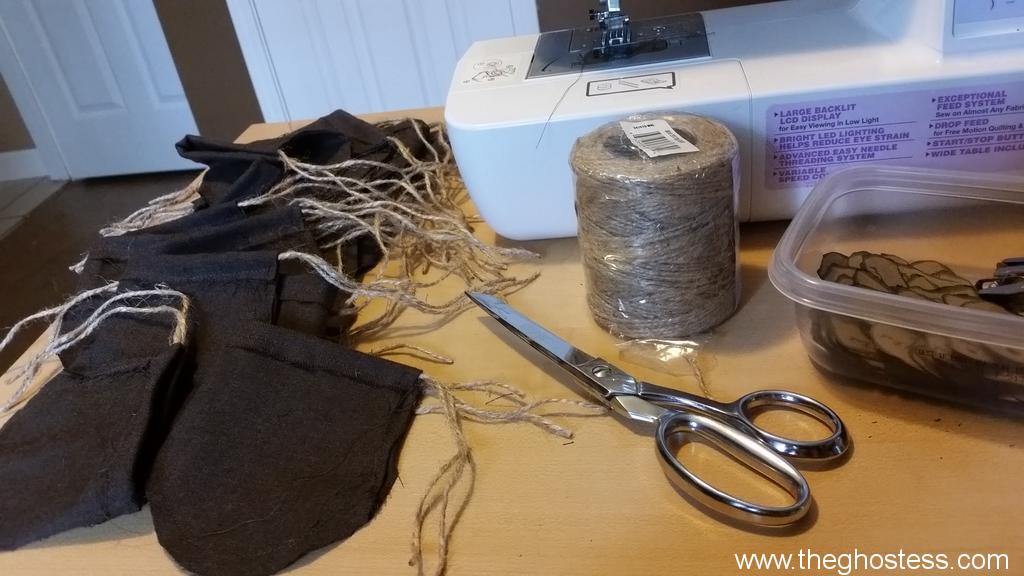
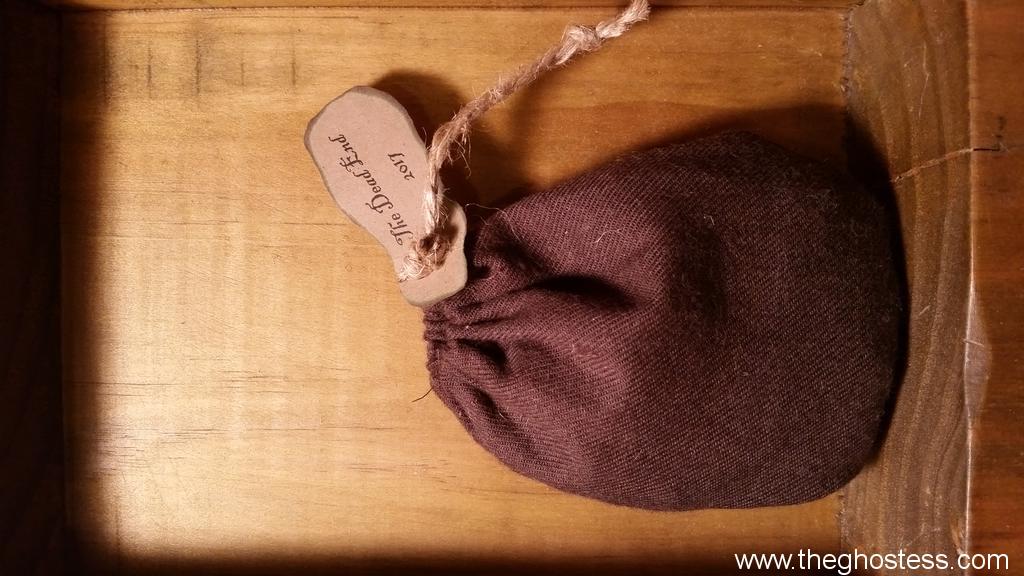
I also decided to amp it up a little this year and sewed little drawstring bags for each one. The bags also have tags attached. This is where I kind of "winged-it". I just cut out the shape I wanted, sewed the top over to hold the twine, and then sewed the bottoms and sides together inside out. They're crude, but they're perfect for this use.
|
|
|
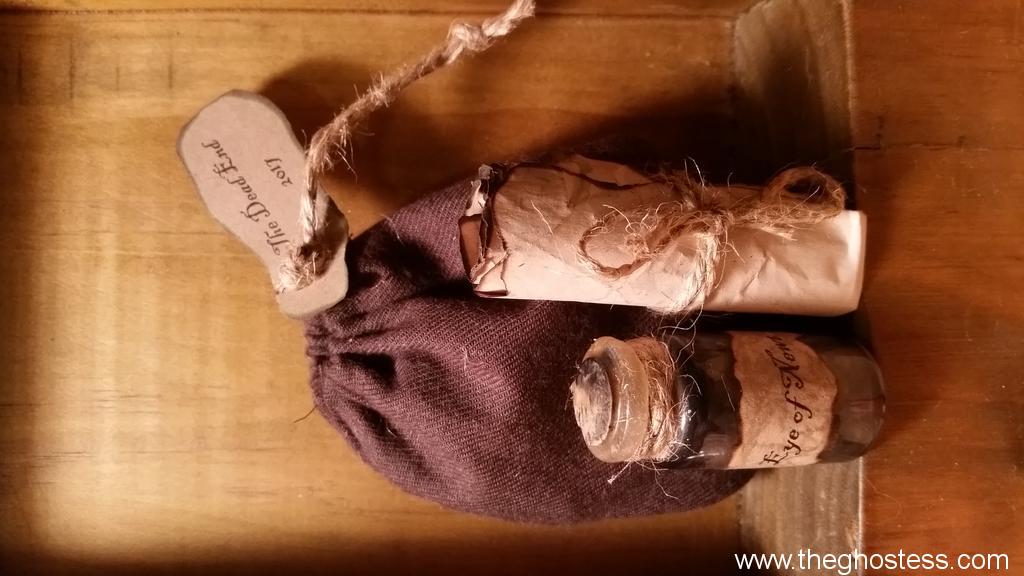
Last, I rolled up the party info pages up into little scrolls with some twine, and added both to the bags. I put a little piece of twine in a knot over the twine that goes through the bags to make a slip knot type thing, so the bags are able to be closed and opened easily. |
|
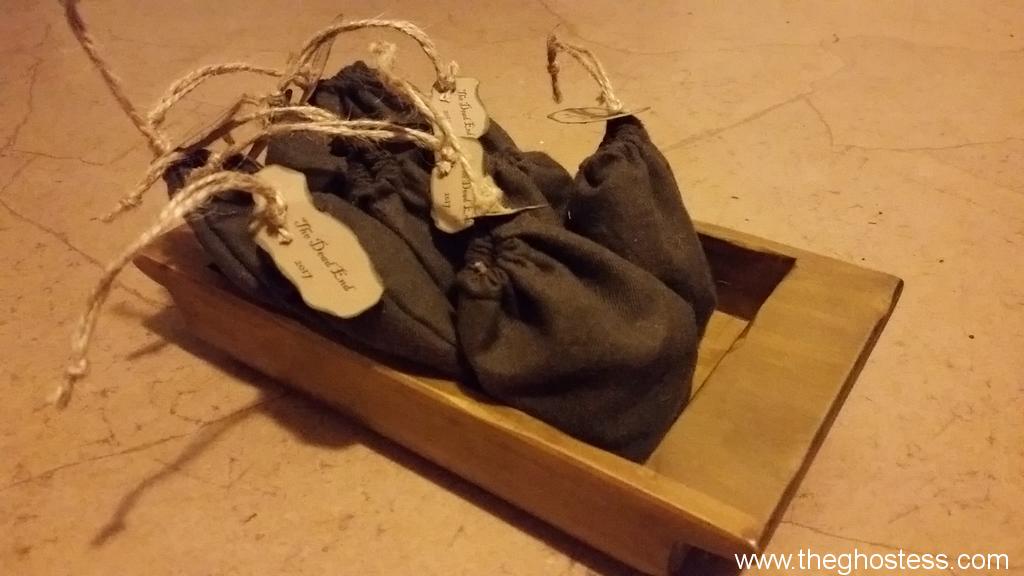 |
Then I hand-delivered them to the local folks! They were a hit. |
|