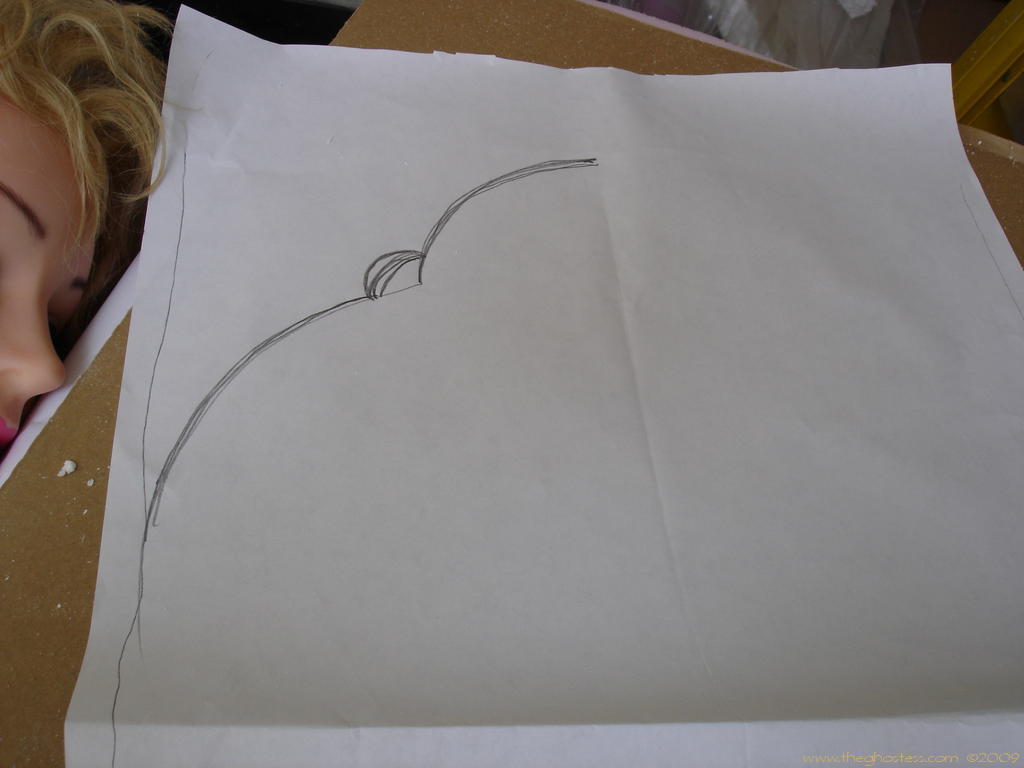
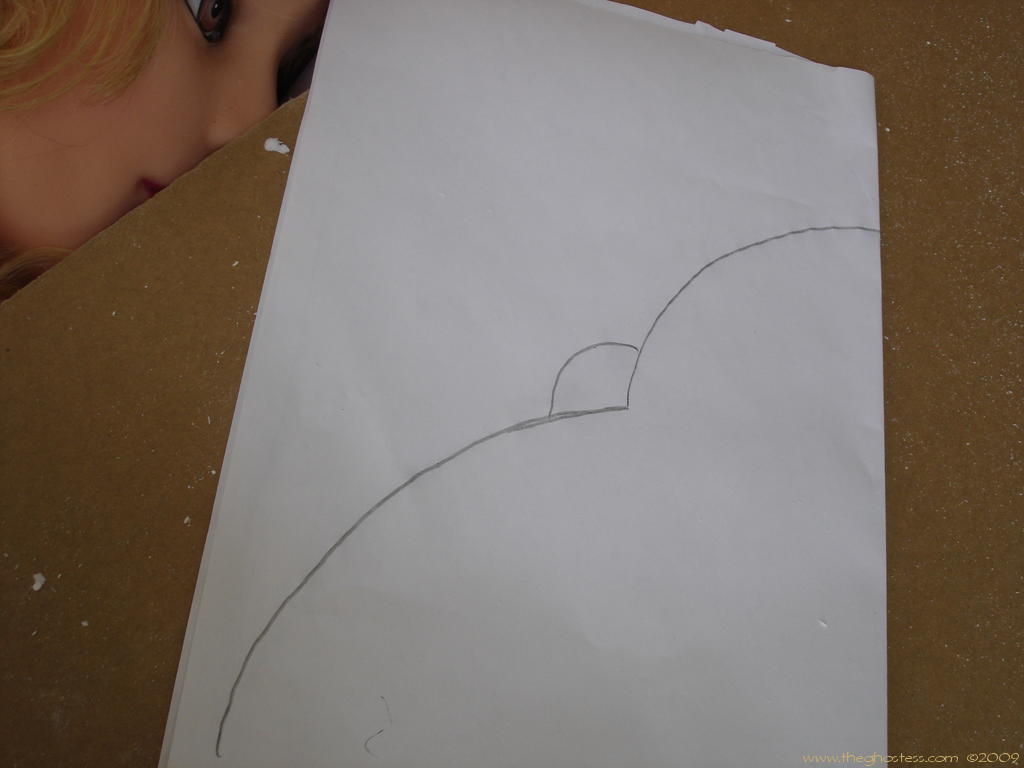
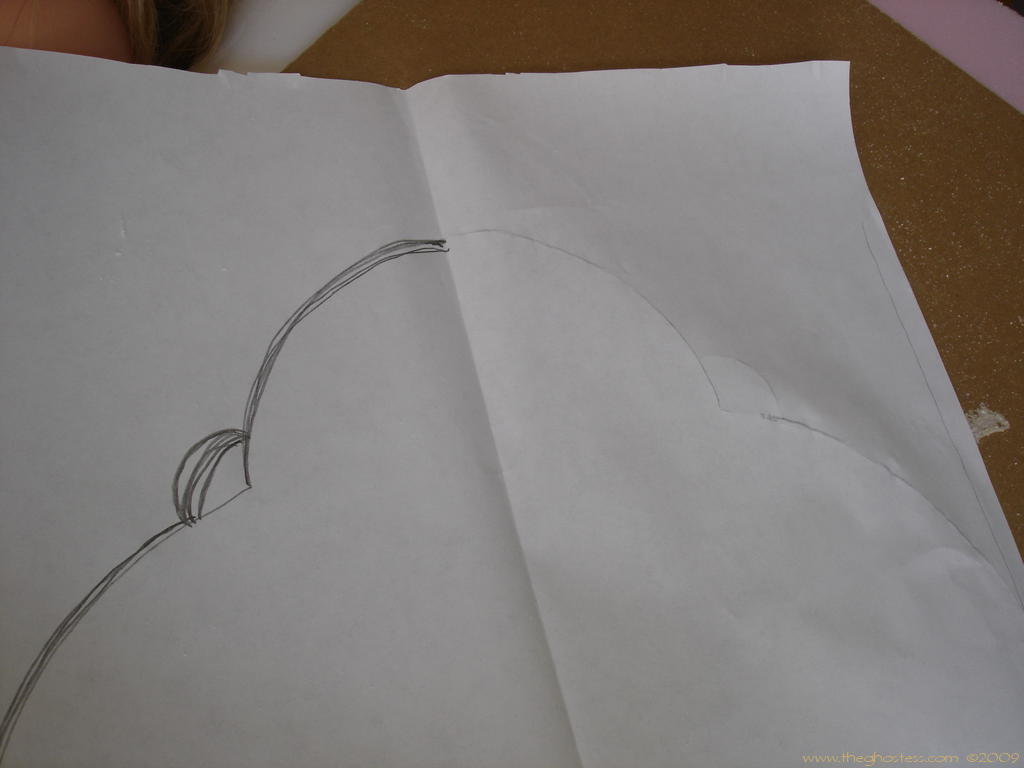
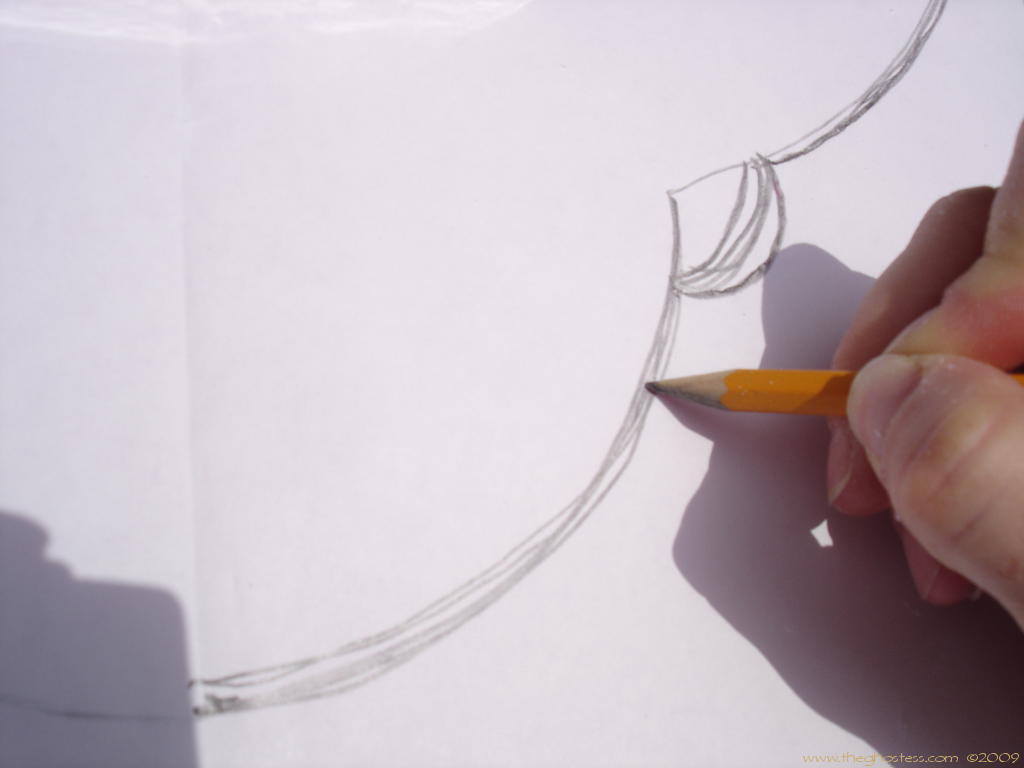
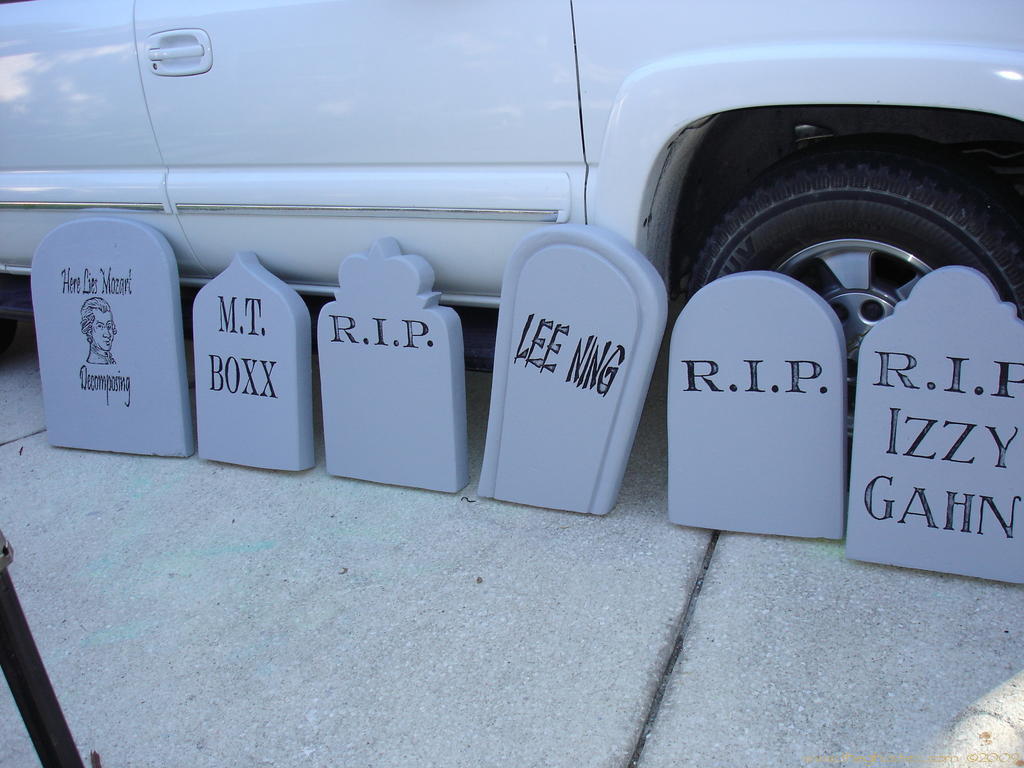
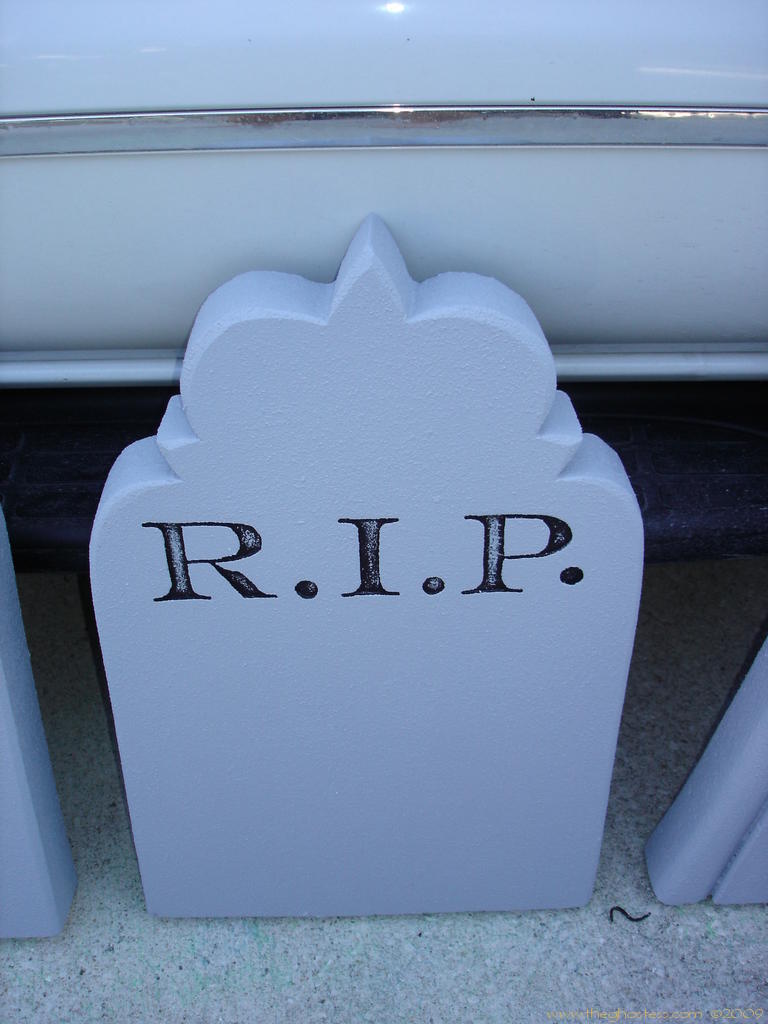
Moving on to shaping... I found the easiest way for me to make the basic shapes for my tombstones is to use the old "fold and trace" method I learned in elementary school. I sketched out the shape I liked, trying to stay within the size confines of my rough cuts of each tombstone I have ready for shaping. I then fold over that sketch, so that the fold is right down what will be the middle of the tombstone.
Then I trace the line through the paper so that it transfers onto the other side of the template. Now I have a symmetrical shape for the top of my tombstone. I place the paper over the rough tombstone, trying to make sure I have it centered over the epitaph. There's other ways to make a template, or you can just wing it and do it by hand.
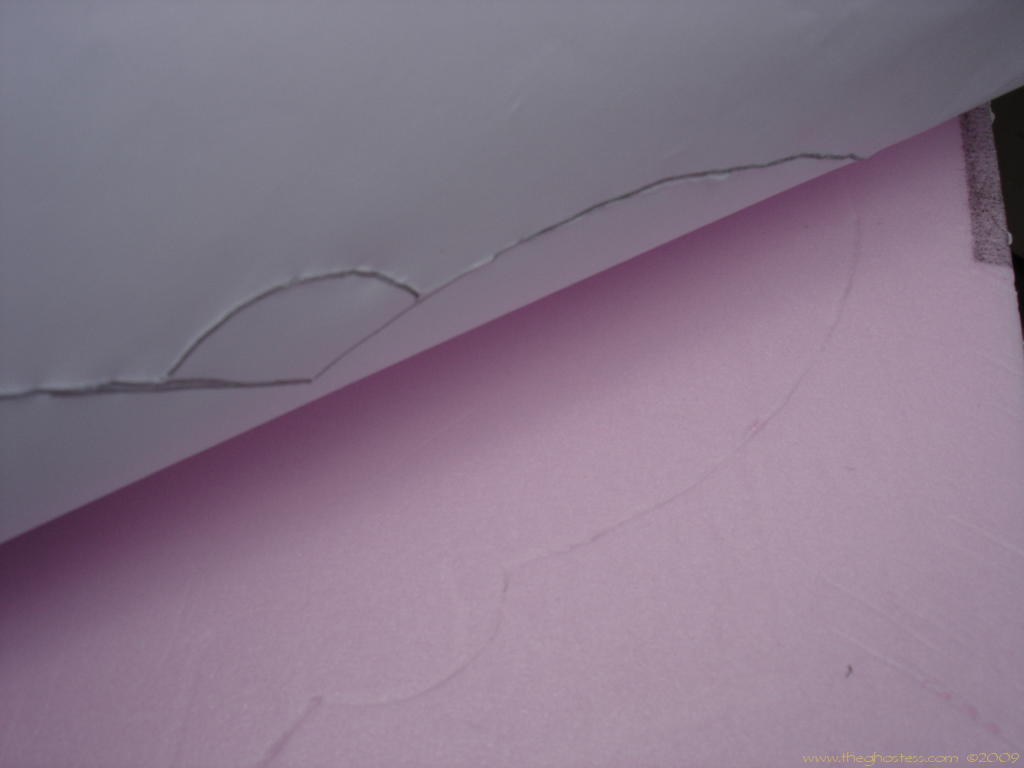
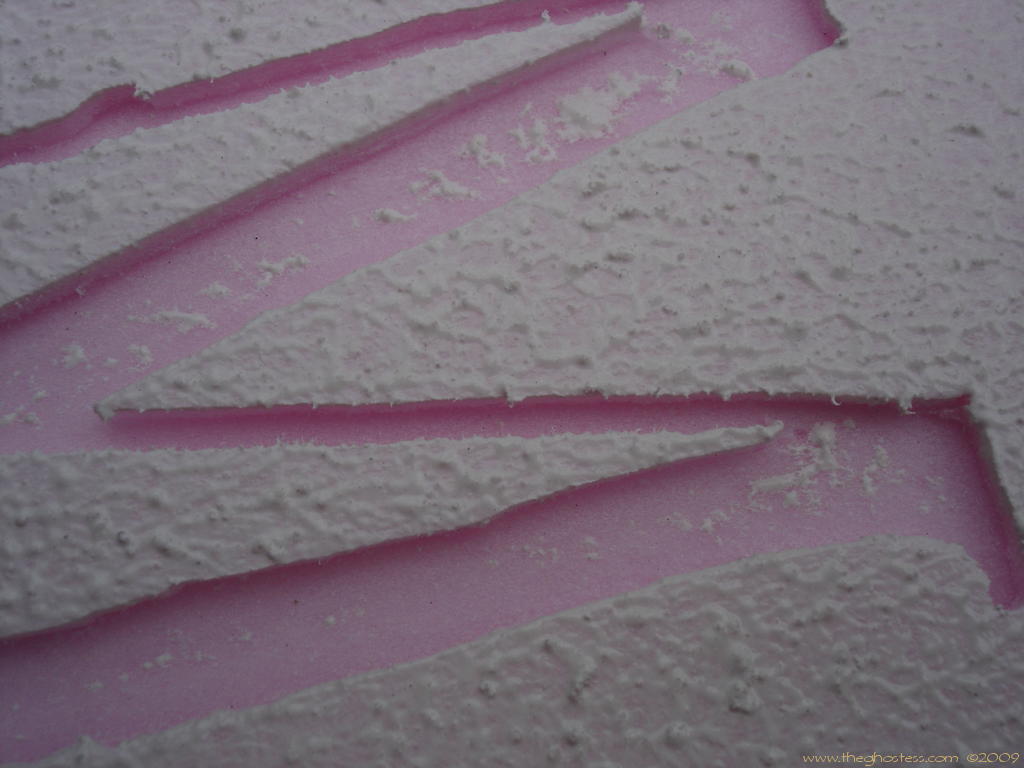
Once I have it placed where I want it, I use a pencil and trace the drawing I made and make sure to put enough pressure that it goes all the way through to the foam to create lines.
|
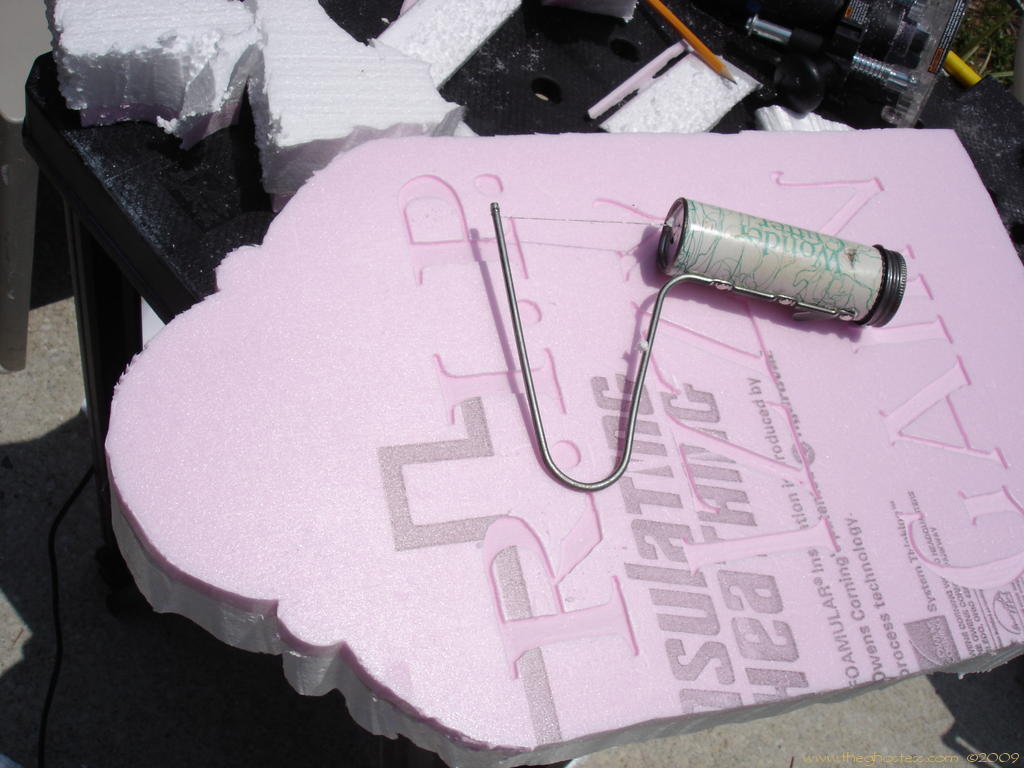
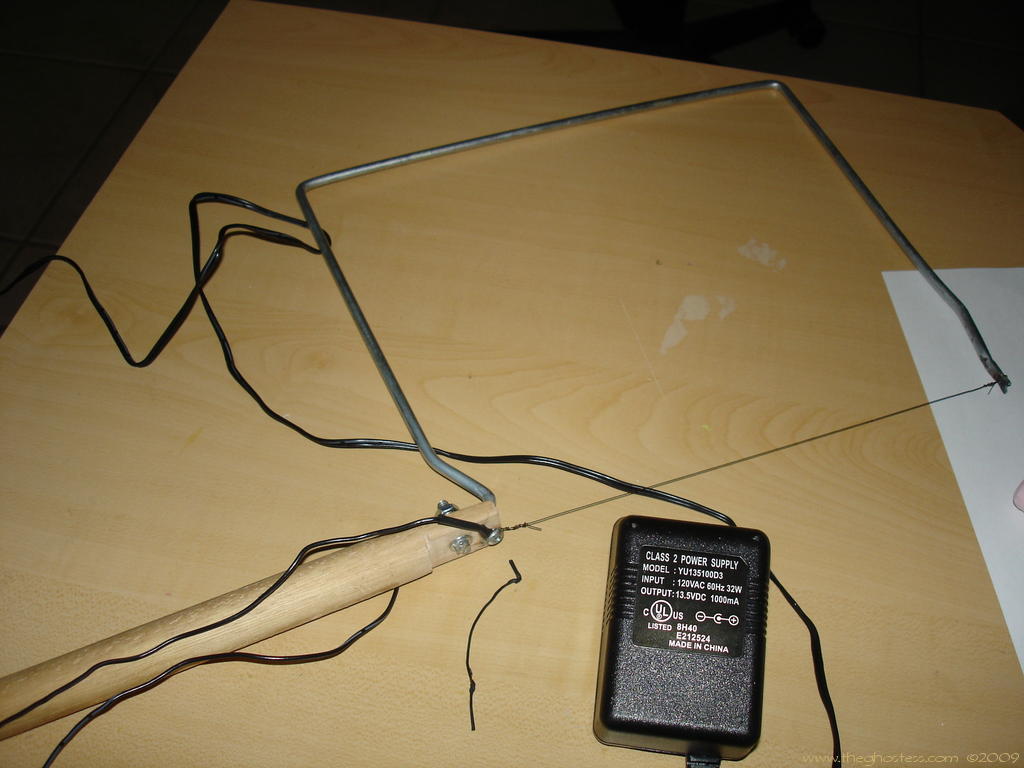
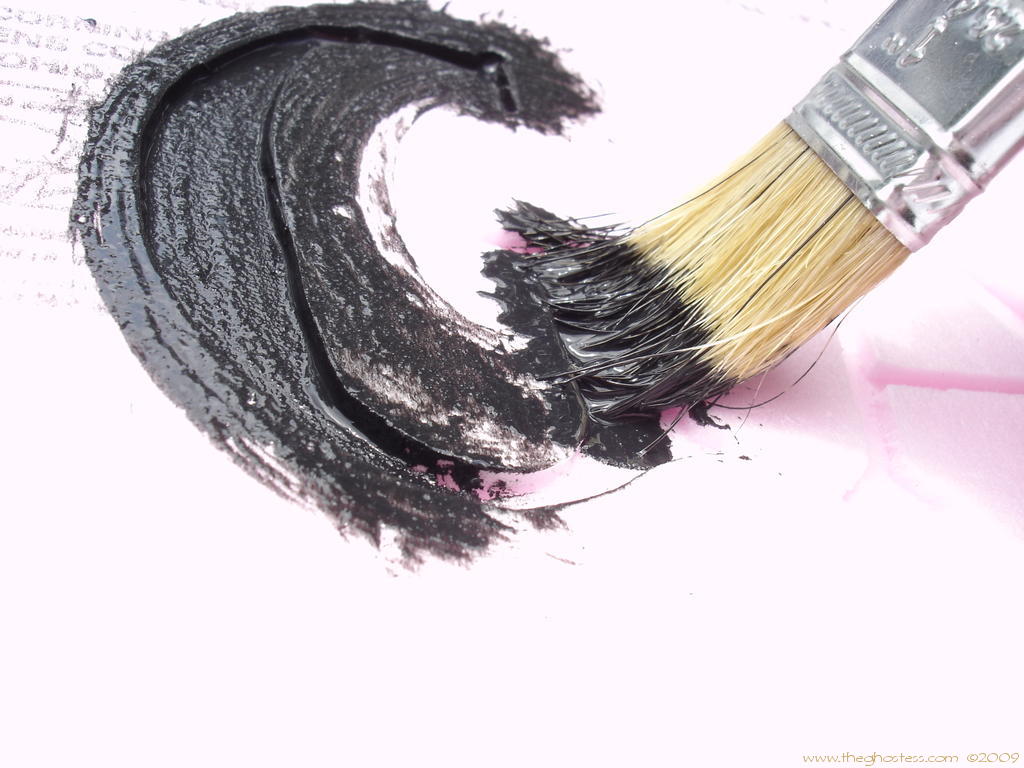
There are a number of ways you can carve the shape of your tombstones. You can use a really sharp knife, a drywall or hack saw or even a jigsaw. Or you can use a hot wire foam cutter. You can buy a battery operated one called a WonderCutter from Michael's Craft Stores for about 8 bucks. You can buy plug in types from other places like the Hot Wire Foam Factory... or you can make one yourself. I recently made one myself using Wolfstone's instructions and I LOVE it. Before, I was just using the battery operated one. The wire gets heated by the power source and glides through the foam like a knife through butter.
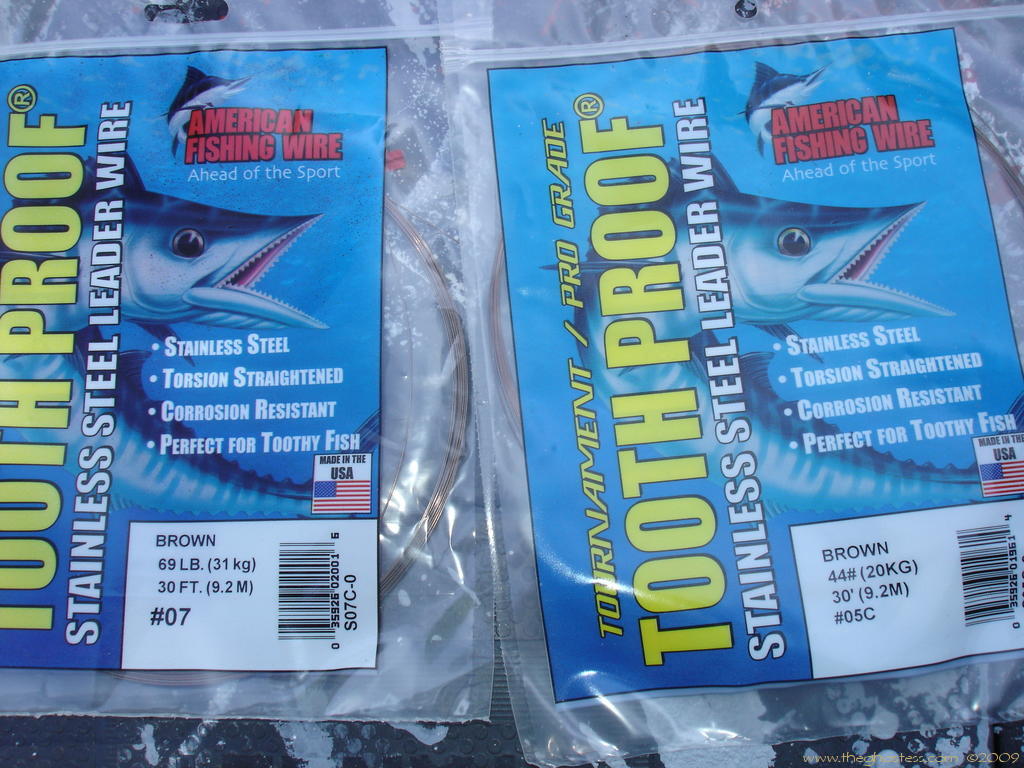
Typically, nichrome wire, guitar or music wire are used for these. Steel fishing wire is GREAT for it too... and is easy to find, they sell it at WalMart. Nichrome is expensive.
There are many different styles of cutters that you can make too, so if you're going to be doing a lot of foam cutting, I suggest taking a look at this page: http://wolfstone.halloweenhost.com/HalloweenTech/fotmak_MakingFoamTools.html
|
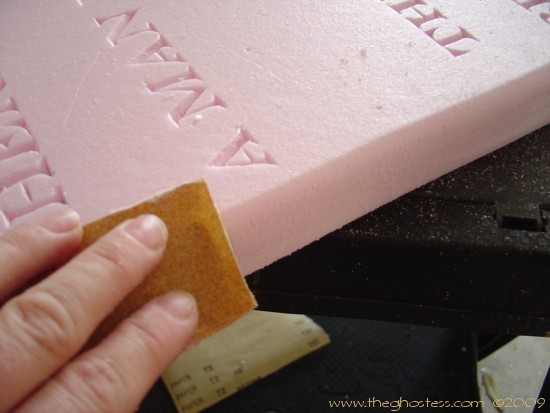
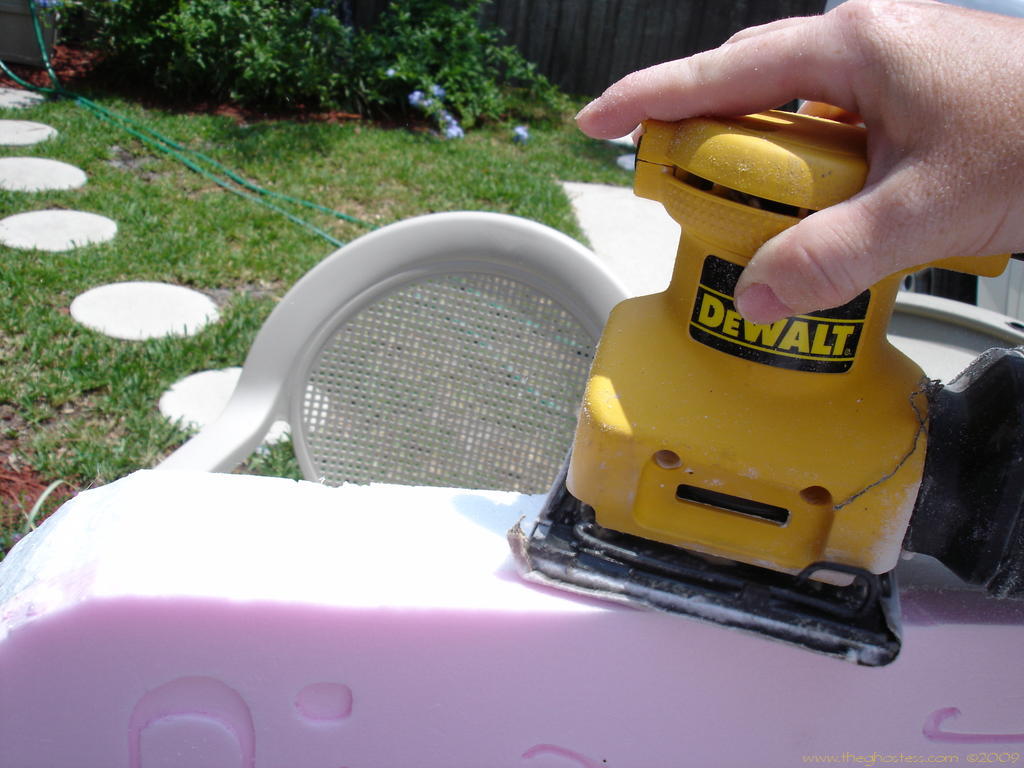
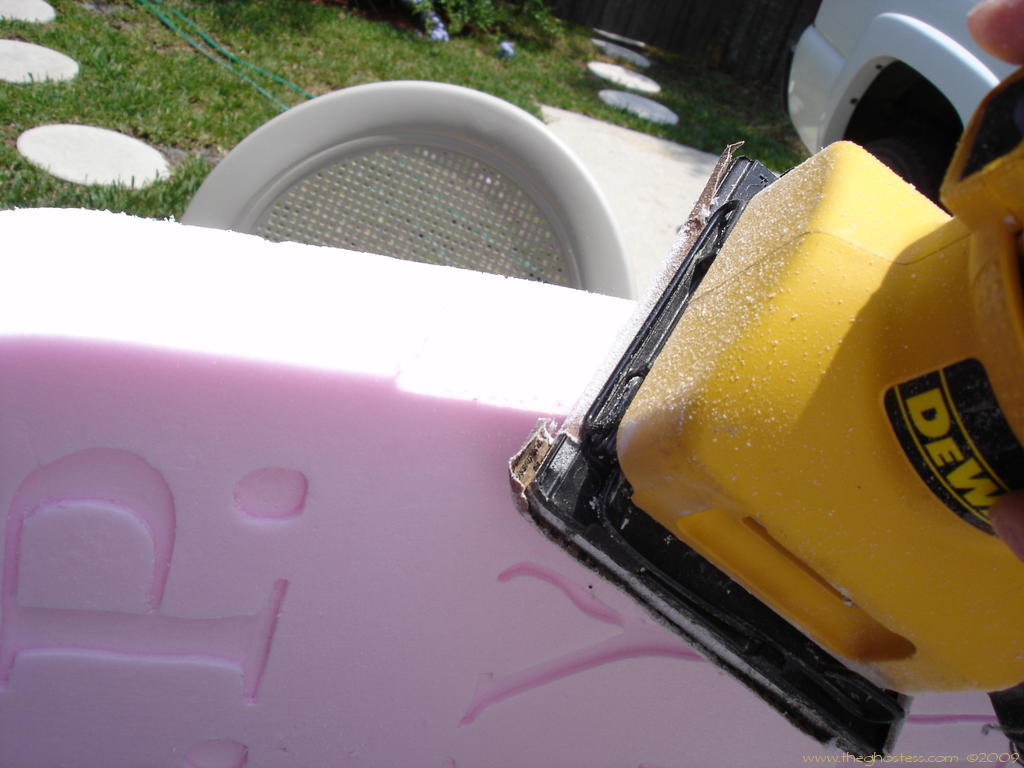
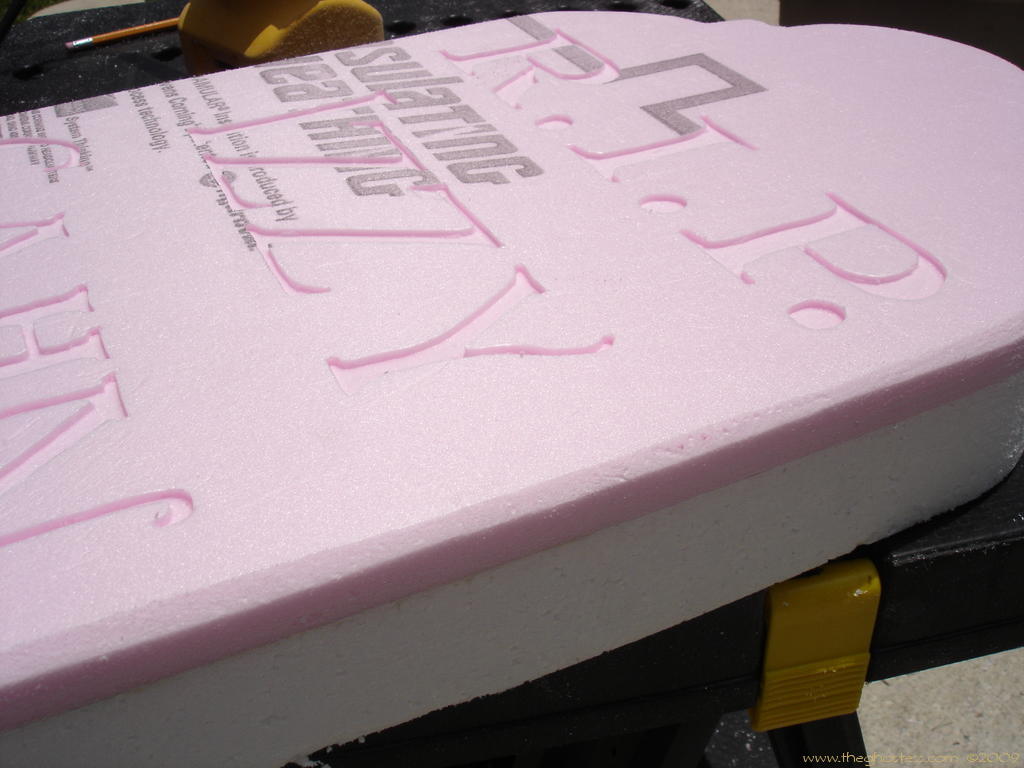
So, now that you've got your foam cutting method, just follow your lines and cut away. I use a box cutter to score and snap off the bigger pieces like corners so that I have less work to do with the foam cutter. I don't spend much time trying to be perfect when I am cutting the shape because the next step takes care of all that for me. I sand the edges of my tombstones, rounding them, bevelling them, making them smooth. I used to do this by hand, but now I just use my orbital palm sander. I also sand the backs of the tombstones on the white styrofoam, but that's just an added step that you don't really need. I just like to. :) If you tilt the sander 45°, you will get a nice beveled edge.
|
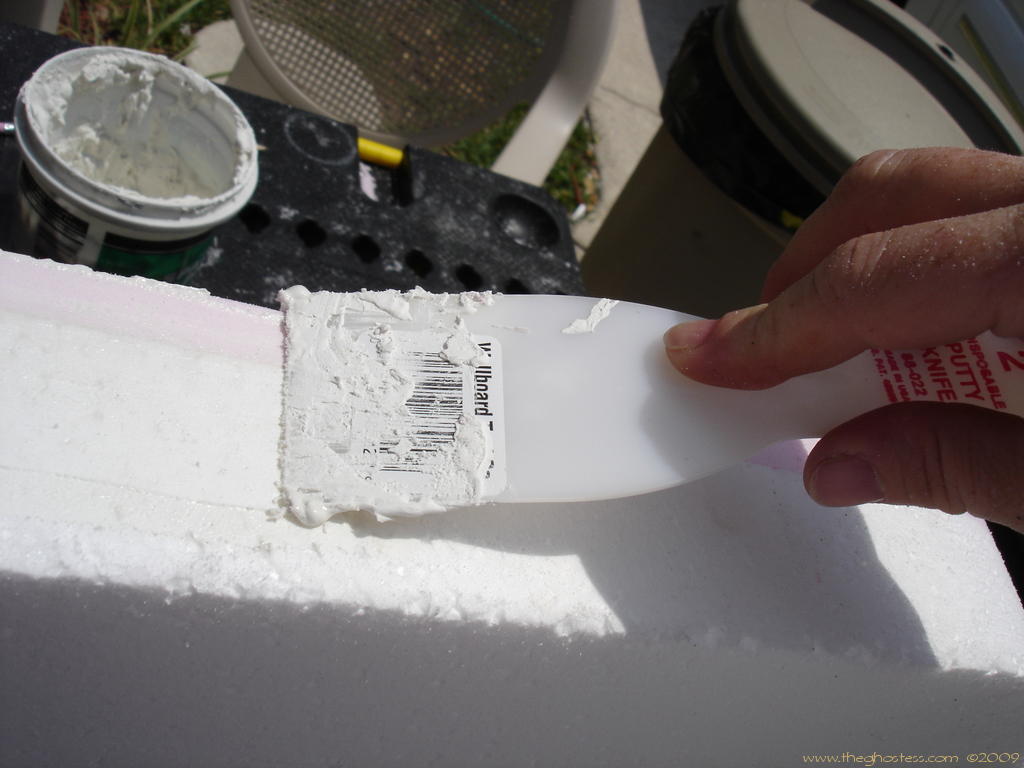
Because I'm a psychotic OCD perfectionist type, I like to fill in all the gaps where the two foams are glued together. I just use joint compound and a plastic putty knife to do this. It's not a necessary step, but I like to do it anyway. I sand it smooth when it's dry.
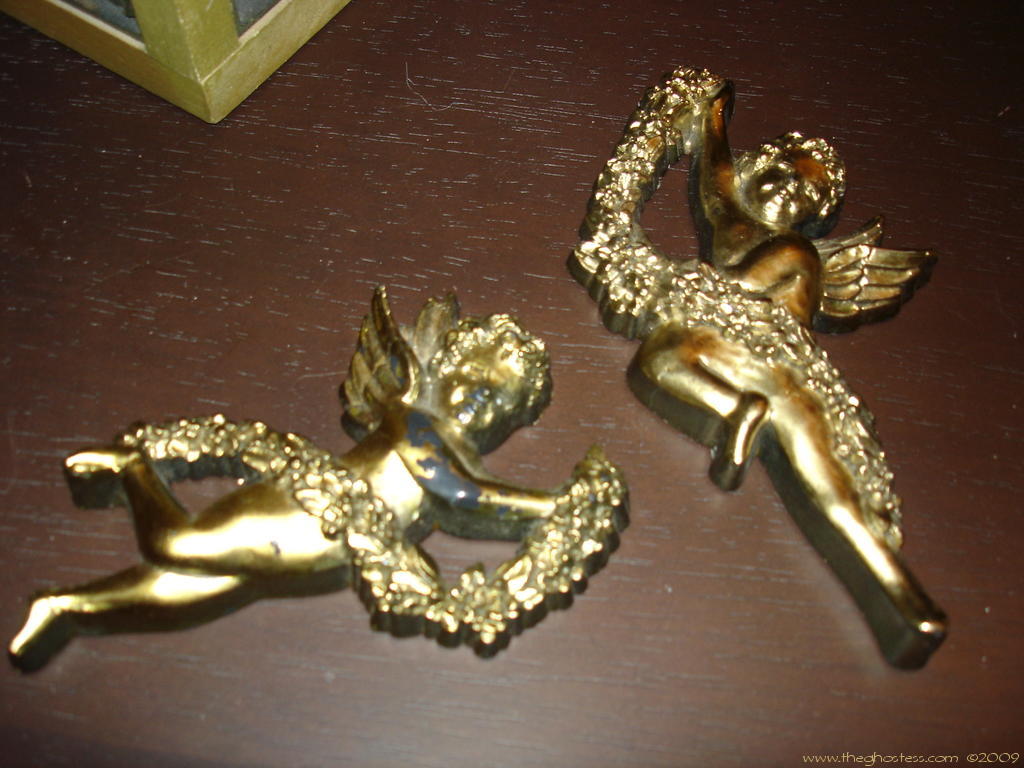
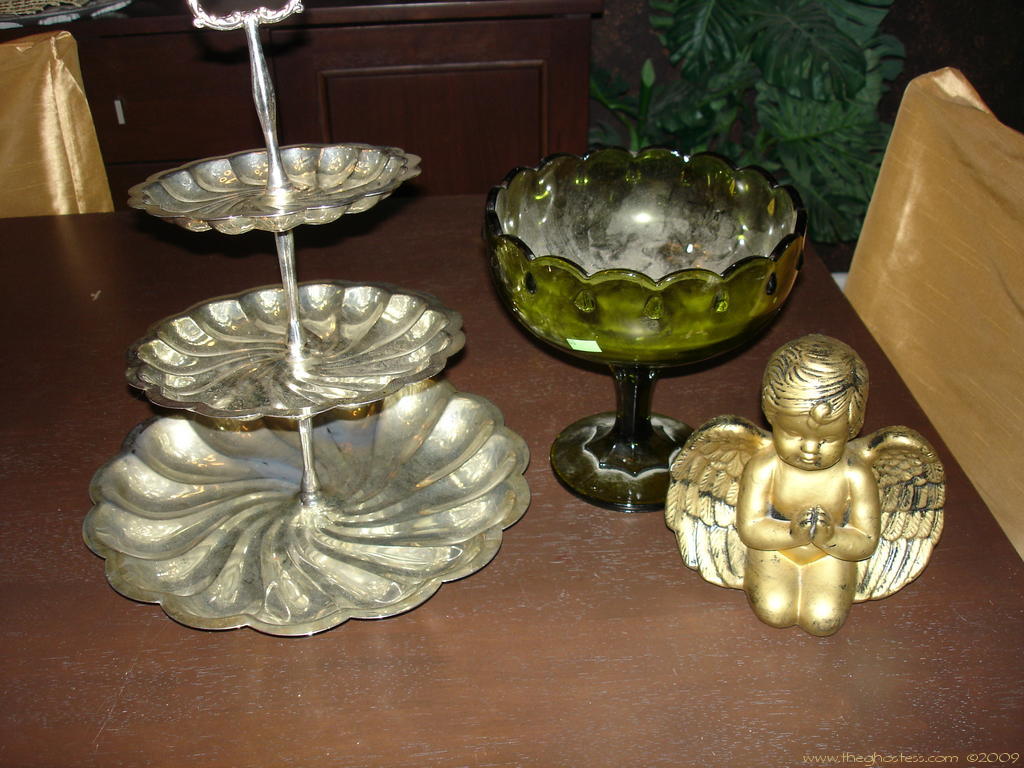
You can also add other things to your tombstones for some extra pizazz and character. Skulls, bones, crosses, even Xmas ornaments can be glued to the foam and painted over to look like it is part of the tombstone. I'll be experimenting with this in the 2008 preseason this year. Most plastic things can be cut in half to glue on to the foam, plaster of paris can be ground with a bench grinder. I found some fun things at the thrift store to add on: These little angels on the left will go nicely on a tombstone. They're already flat and ready to be added. The little cherub to the right will go on top of a monument of some sort I think.
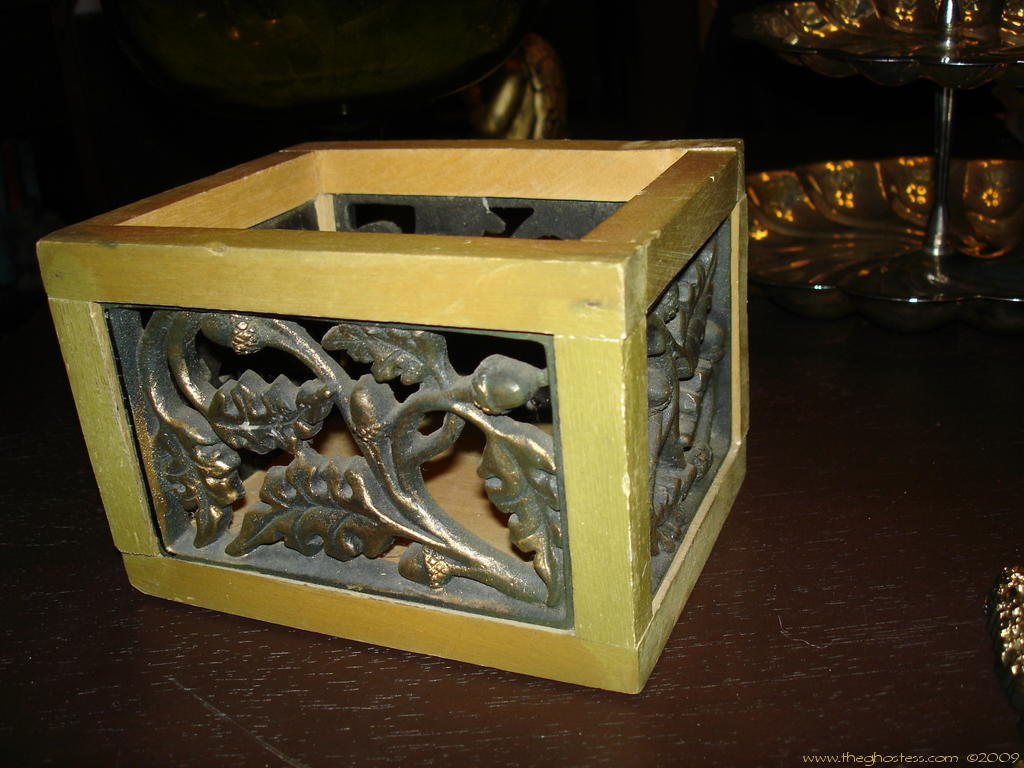
I also found this neat little box thing that I'll be taking apart to use the acorn and leaf pieces for tombstones.
|
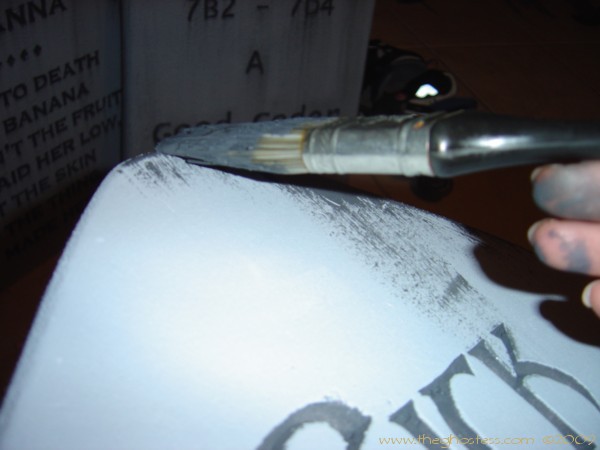
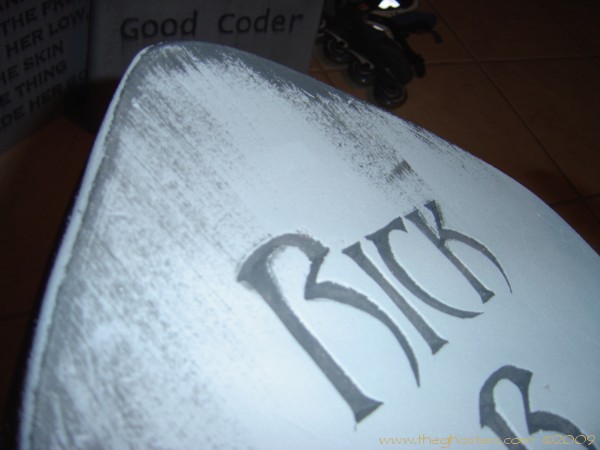
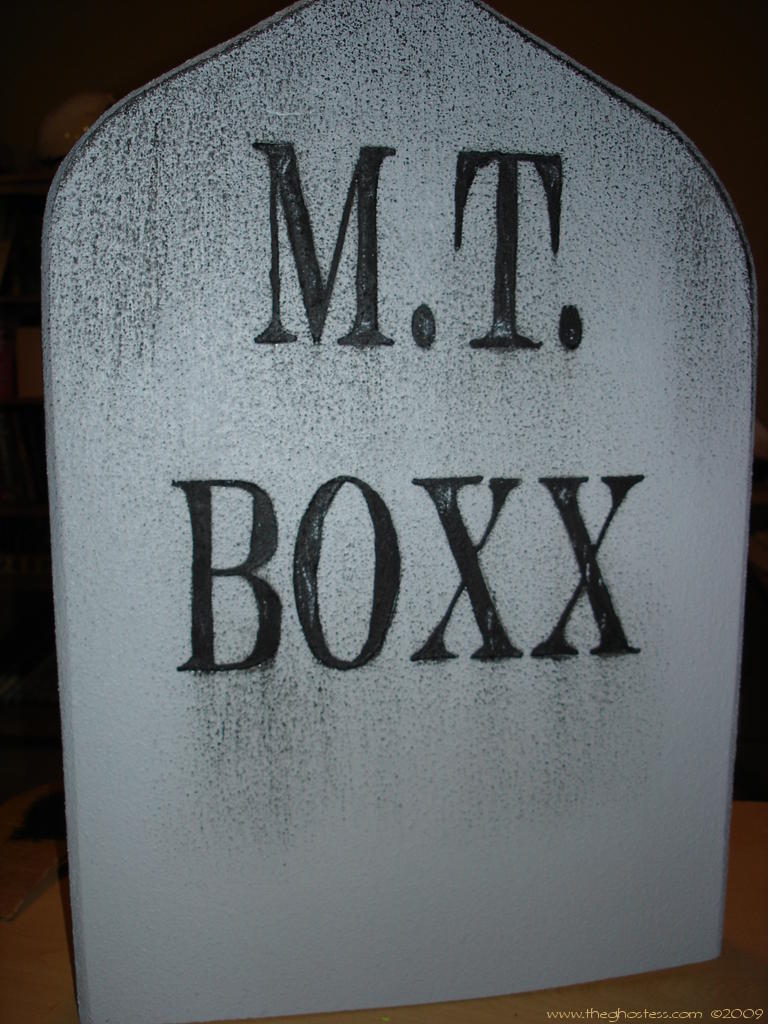
I like my tombstones to have a stony texture, so I tend to use DryLok (because I have a gallon of it sitting there) on them. It's not necessary for waterproofing purposes on tombstones. I've also used regular latex paint with play sand in it to paint tombstones with. If you buy your paint at Home Depot, they usually have a section where they mix the paint that has the "Oops!" paint. This is paint that wasn't tinted correctly or that the customer either refused or brought back. It's usually a buck for a quart or 5 bucks for a gallon. I ALWAYS check this section for gray paint every time I go in there. All my tombstones and most of my other props have all been painted with Oops paint. You do not want to use enamel spray paint on your naked foam tombstones. The solvent in it will eat the foam. If you do use a spray paint, make sure to either use one that is latex based or that you coat your foam with latex paint before you use the spray paint. Again, you don't want to do all this work, then go to paint and it eats all that hard work right up! If you are using DryLok or sand in your paint, you might want to give it a coat of that before you paint your lettering. I use a small foam roller to do my painting, that way it goes right over the letters without getting paint down into them. The larger fluffy rollers will tend to push paint down into the carving, and you can also see the texture DryLok gives - see below:
|
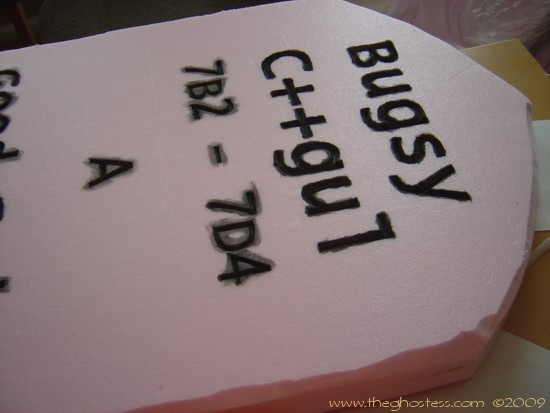
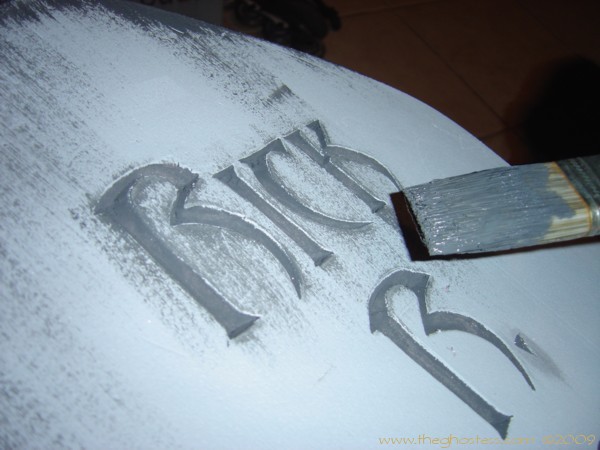
I use a small chip brush to fill in my lettering. It doesn't have to be pretty, just filled in completely.
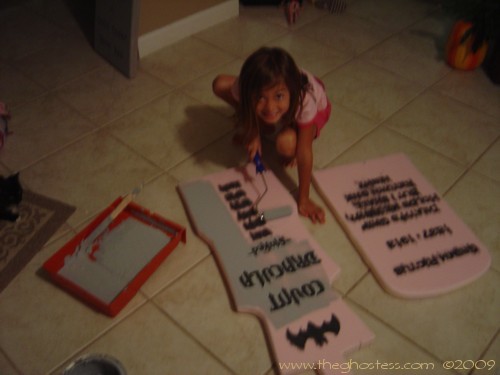
*note: Fellow Florida Haunter, Coda180, uses a squeeze ketchup bottle filled with paint to squeeze the paint into the letters, then he reclaims the excess. Great idea! Then roll over the whole thing with whatever color you want them to be. Again, I use a small foam roller for this. Slave labor is good for base coat painting too, as shown below:
I usually give 2 coats of color on my tombstones. Since I'm using sand in my paint, my tombstones are heavier and more durable than if I were just using the paint by itself. If you try the sand, just don't use TOO much sand in it, otherwise it likes to "pill" up while you're painting. The great thing is, that when you finish rolling your color on, you can go back with a really small artist's brush and touch up the black lettering pretty quickly. Another even faster way to paint large groups of tombstones is to use a sprayer. We have a touch-up sprayer and a Husky HVLP gravity feed sprayer. I've only used the touch-up sprayer, but I can tell you that for the 12 bucks spent at Harbor Freight for it, that was money VERY well spent. I mixed my paint with an equal part water and painted several large props. This would work well for tombstones too, for base coats. Then you could just paint in your lettering later. If you have an airbrush, you could also do your aging and detail work with that.
|
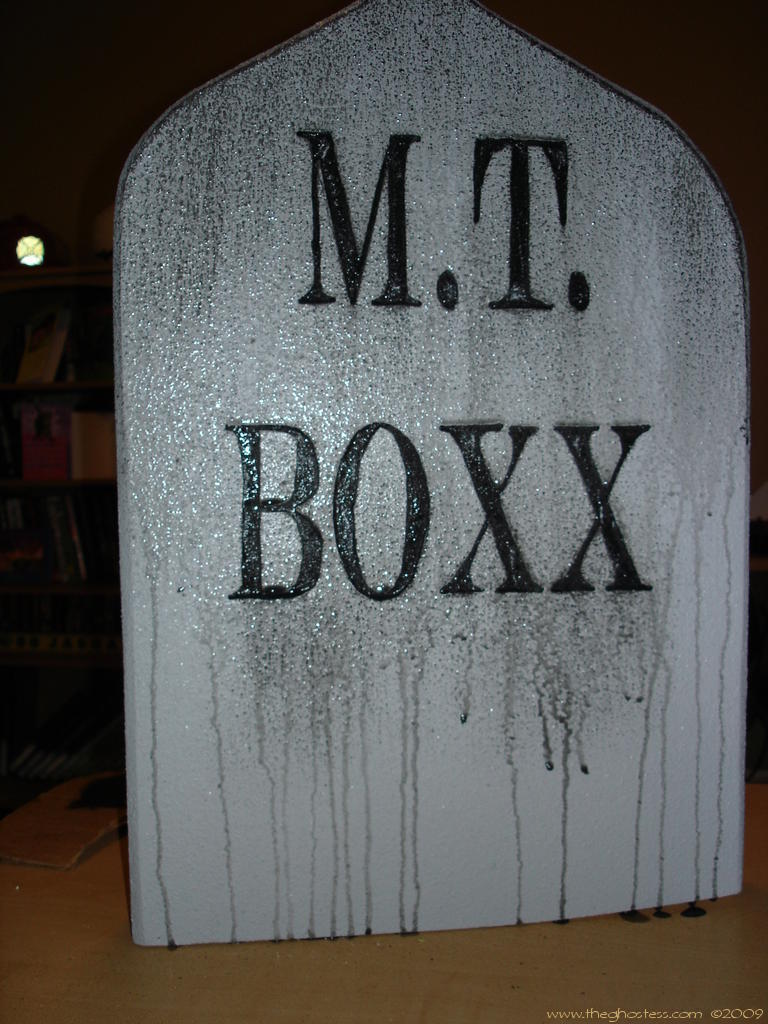
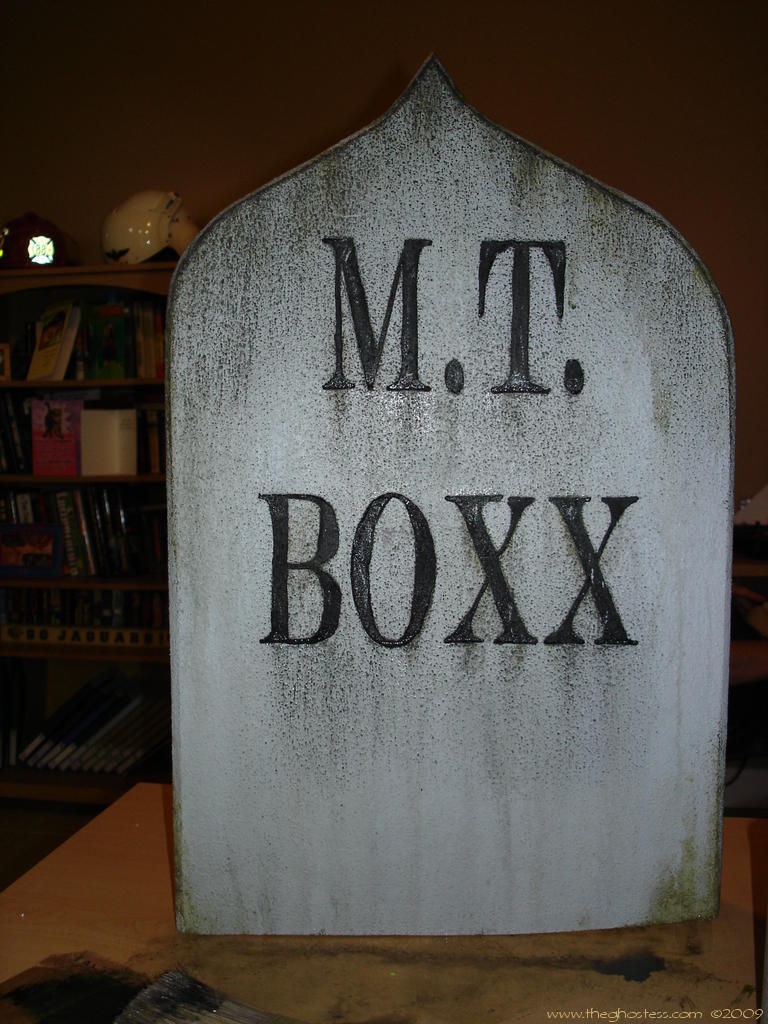
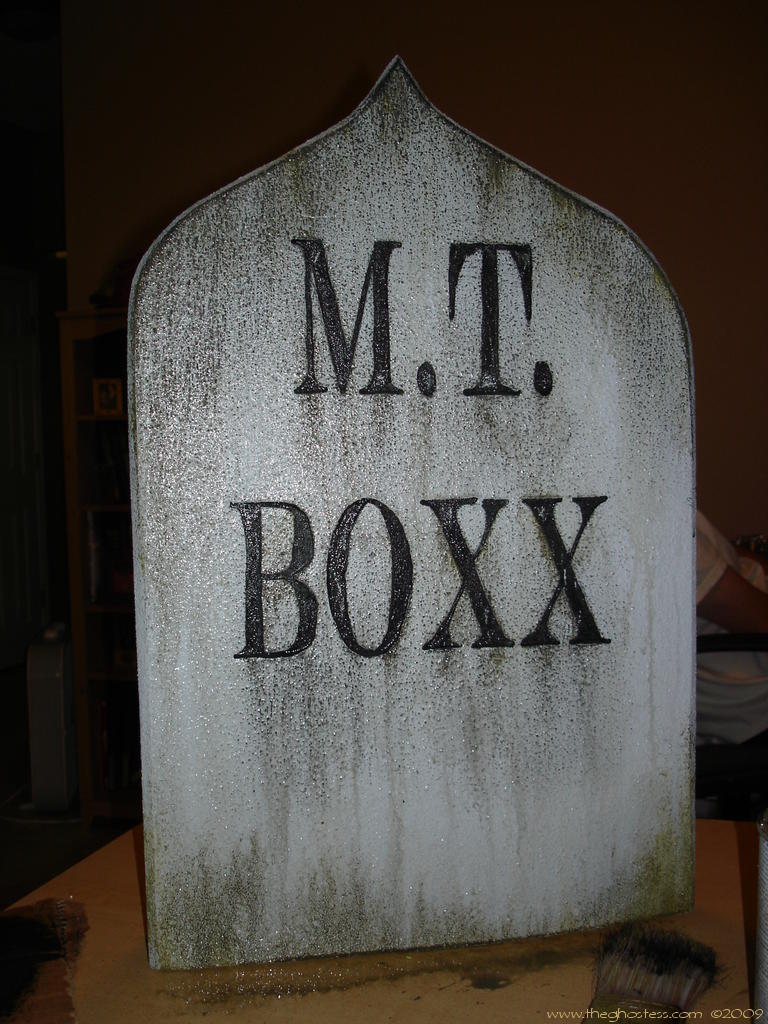
The last step: aging. I used to just use plain old paint and dry-brush my age and mildew lines down the tombstones. I just took a stiff paint brush, dipped it into the paint only a little, then used a piece of cardboard to brush off the excess. I simply started at the top and moved the brush quickly down the stone, making several passes until it looked right to me. On the top of the tombstones, I just dabbed the paint on, then streaked it by running the paint brush across it a few times. I did the same at the letters, starting at the top of the letter and moving downward quickly and lightly to make it look as though water gets caught in the letters and the slow drip from that causes mildew or mold to form.
Now I use a spray bottle with water to help get that old dirty look. I spray the tombstone with a mist of water first. Then I take a stiff paint brush and dip it in the black paint and wipe off the excess on a scrap piece of cardboard (just like above). This time however, I run the paint brush down the whole tombstone. I spray over that very lightly with the water, and let it run, drip and dry. Then I repeat that process with some pea-green paint mixed with black paint. I do this only in some spots just to give it that mossy green staining that I've seen on some tombstones and statuary. Then I follow up with more black wherever I think it needs more or it ran too much before. This is where you just work with it until it looks good. It will need time to cure so that the paint doesn't wear off, so let them dry at least 24 hours before setting up in the yard.
You can also add stuff with hot glue to your tombstones, like moss, to give it that creepy look. Anyway, there ya have it - the new and improved tombstones from The Dead End. As I learn new stuff, I'll add to the pages here. |
|
All information contained on this website www.theghostess.com is provided for FREE and is intended for entertainment purposes and general sharing. If you have been sold information regarding or taken from this website, please contact the admin at the link in the navigation menu. Copyright 1999-2015, The Dead End. |