 |
|
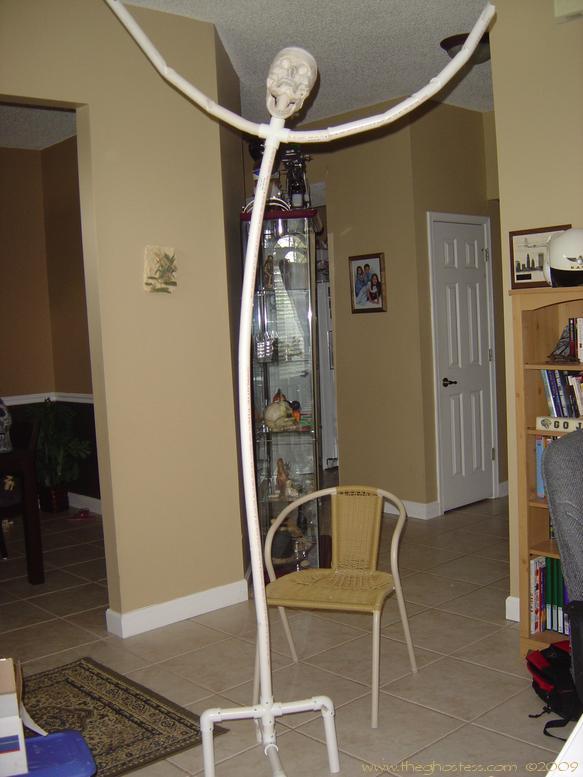
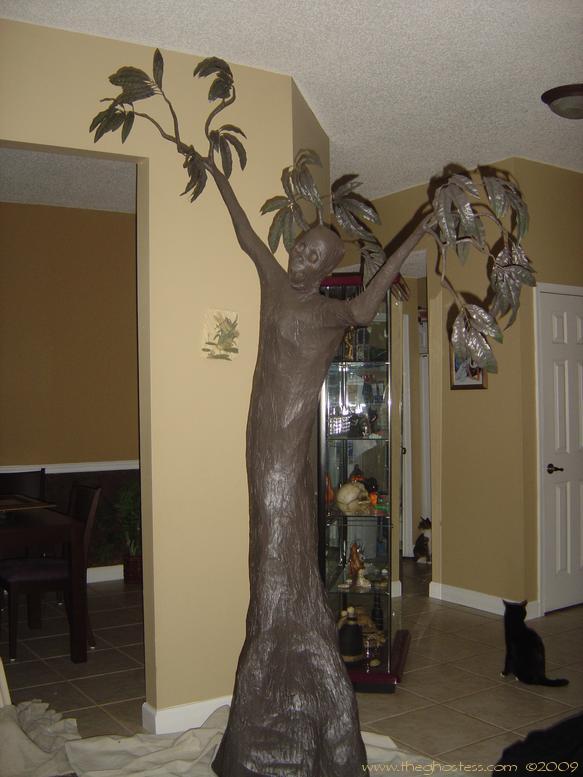
Since I dismantled my big Monster Mud tree, I
decided on making something a bit more manageable and creepier. Then I
remembered a few trees done by a fellow haunter, Krough. I found
my inspiration from looking through his pictures on his website, www.GrimVisions.com and decided
on a version of his trees (which were inspired by a prop done at the
Hallowed Haunting Grounds), only mine would be taller. This is
what I came up with:
Click on the
pictures for a bigger view. |
|
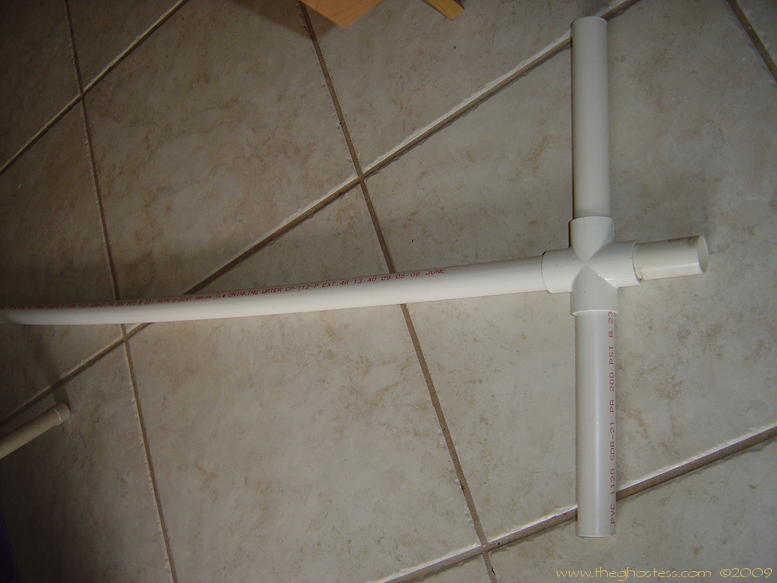
I started with a PVC frame. I made a "+"
with a long section for the "trunk spine" and 2 shorter sections for 2
of the 4 "foot roots" I needed and another short piece under that. |
 |
 |
To the short bottom piece, I attached a PVC
"T" fitting for the other 2 "foot root" sections. |
|
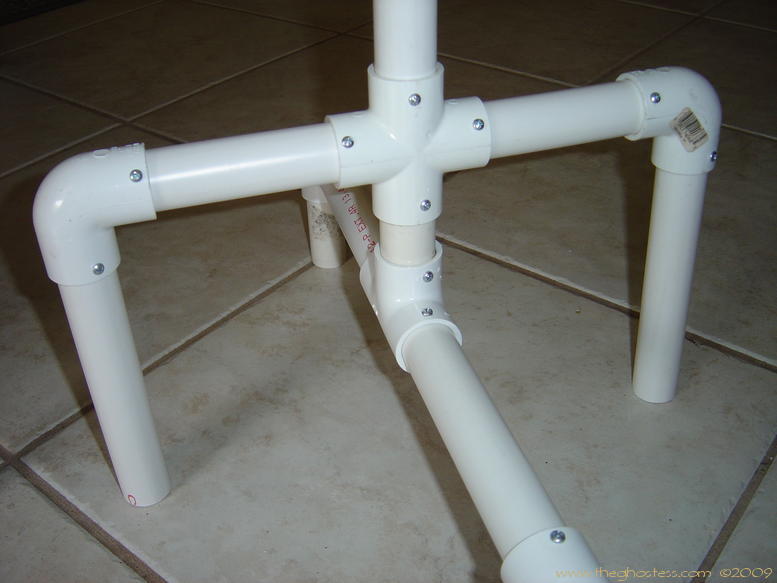
I then attached on some 90° elbows. |
 |
 |
Then I cut some short sections to attach to
the base so it could stand on its own. |
|
After I made sure to tap all the joints
together good and tight with a rubber mallet, I use some small machine
screws to secure everything. |
 |
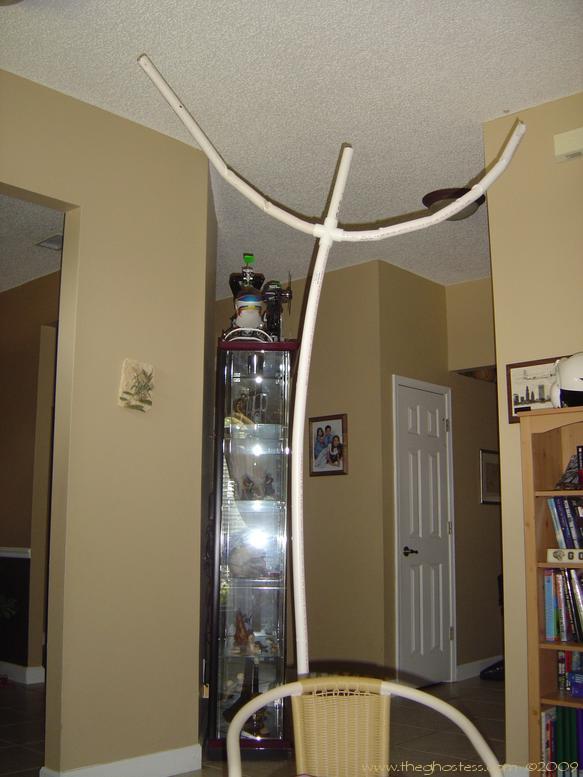 |
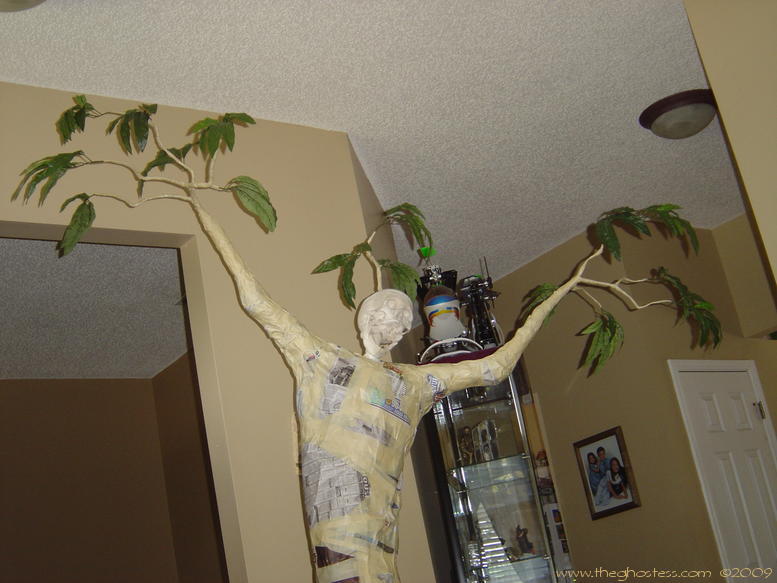
I added another "+" connector at the top of
the "spine" to attach the "arm branches" and the "neck" to. I used
a heat gun to bend the PVC into the positions I wanted. Then I
screwed the pieces together. |
|
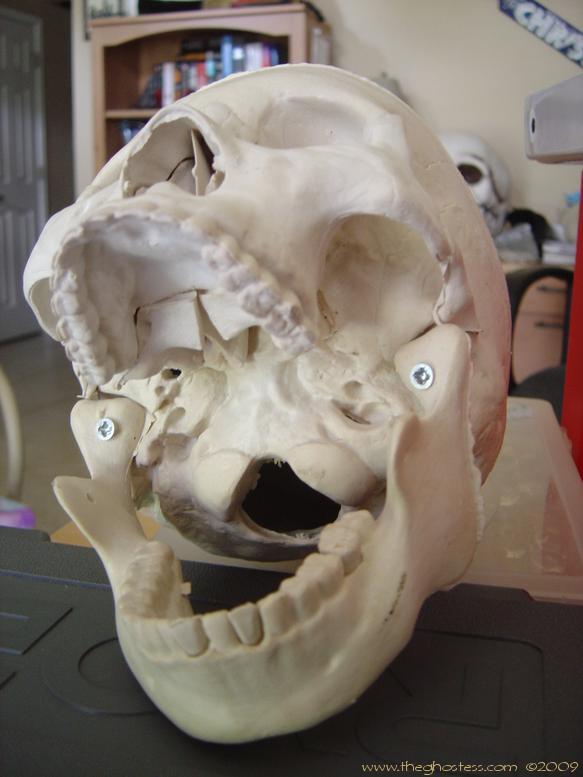
I removed the springs and bolts from a Bucky
skull and drilled holes in the jaw bones so I could permanently attach
it to the skull with some big screws. It was in a "WAY-too-open"
position, so I used the heat gun on the jaw to soften it and make it so
I could close the mouth a tiny bit. |
 |
 |
Then I screwed the skull onto the "neck"
section of the PVC frame. |
|
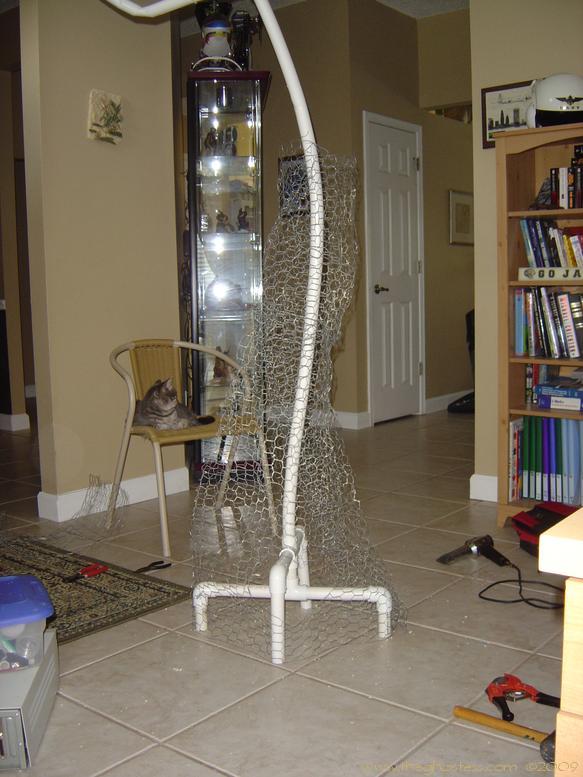
Now I am ready for some chicken wire frame.
I just kind of worked it around the PVC frame and shaped it how I wanted
it, bending the edges of the chicken wire around other sections to hold
it still. I suggest wearing some heavy duty leather gloves while
doing this. Chicken wire hurts when it pierces your skin! |
 |
 |
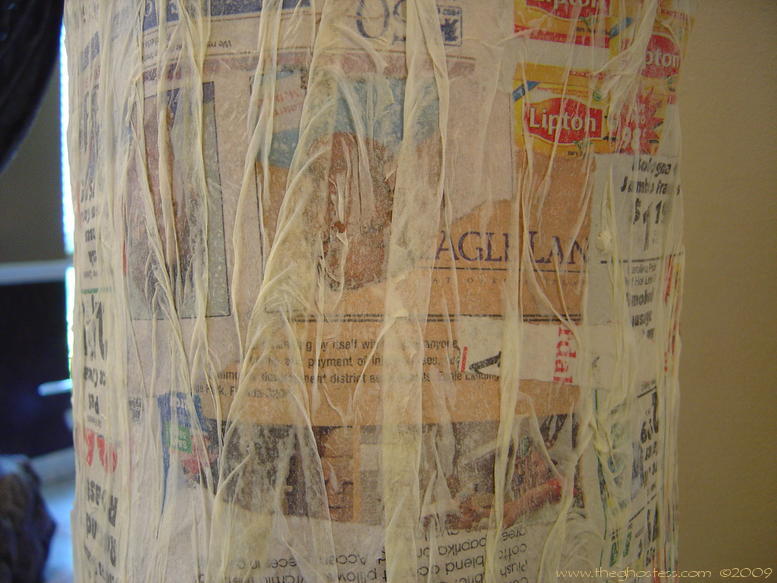
Once I got all the chicken wire on and
secured, I took some newspaper sections and just taped them over the
chicken wire frame with masking tape. I learned this from
DeadSpider, paper mache doesn't
like to stick to chicken wire and this is a quick and easy way to get a
base layer going. |
|
I just thought this was a neat picture.
The sun was setting and it was casting an orange glow through the small
window above my front door. The skull was in JUST the right spot
at that time and I had to get a pic of it. |
 |
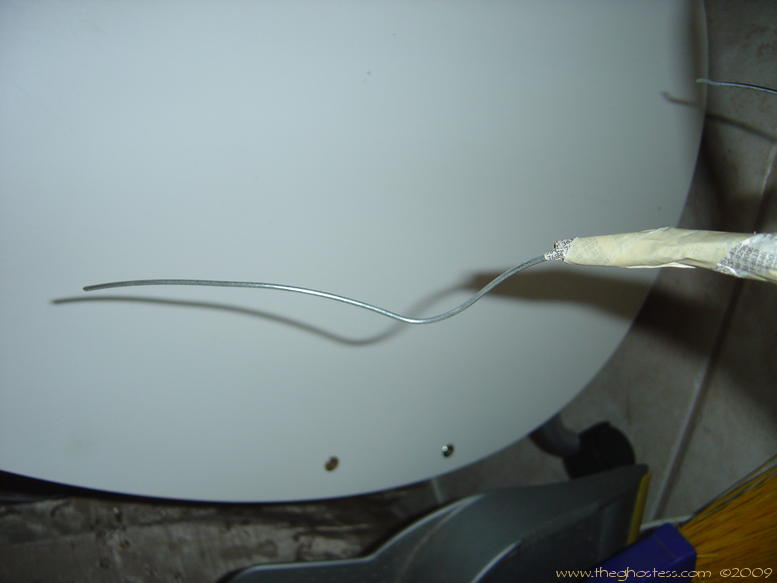 |
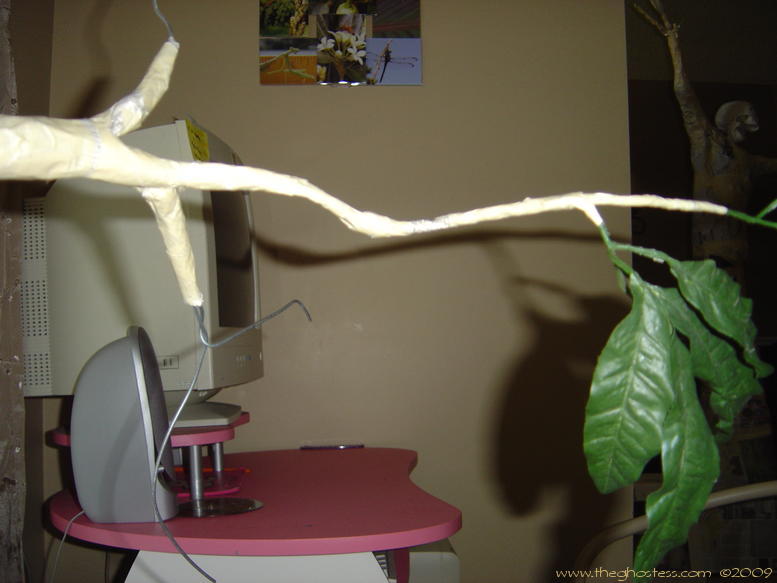
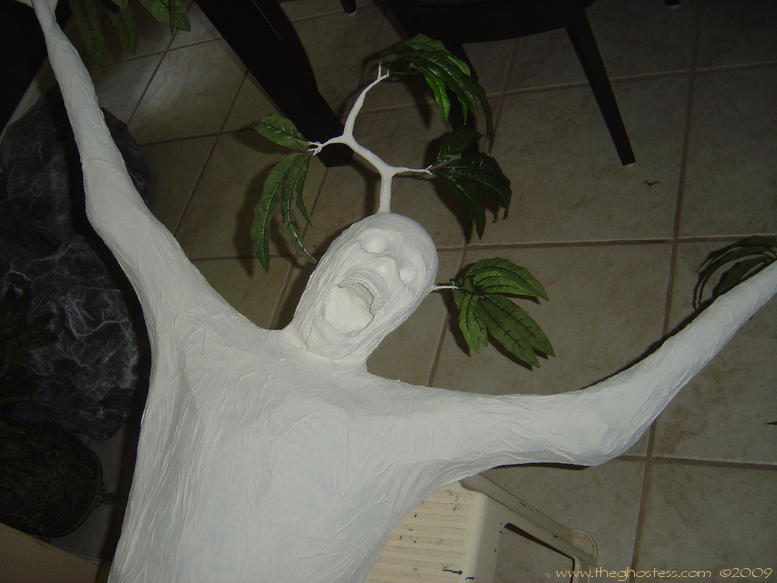
I took some 14 gauge wire and started to wind
and twist some pages of phone books around it, taping as I went to make
some small branches. |
|
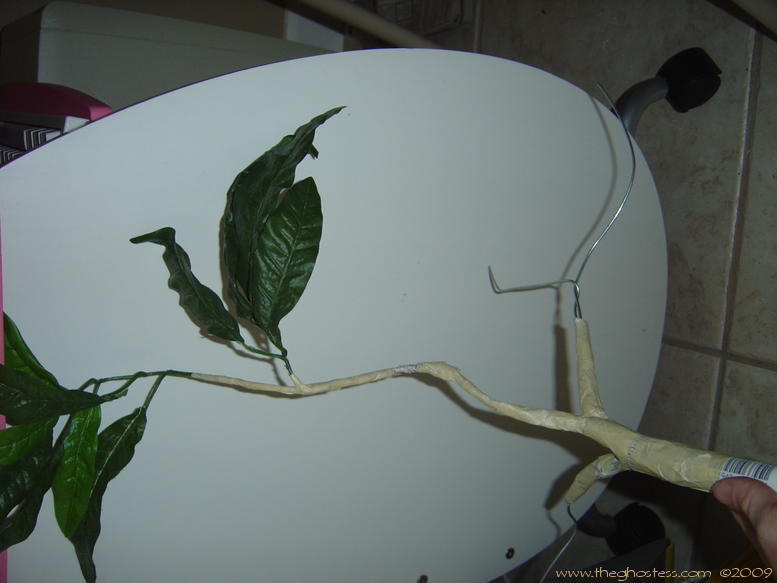
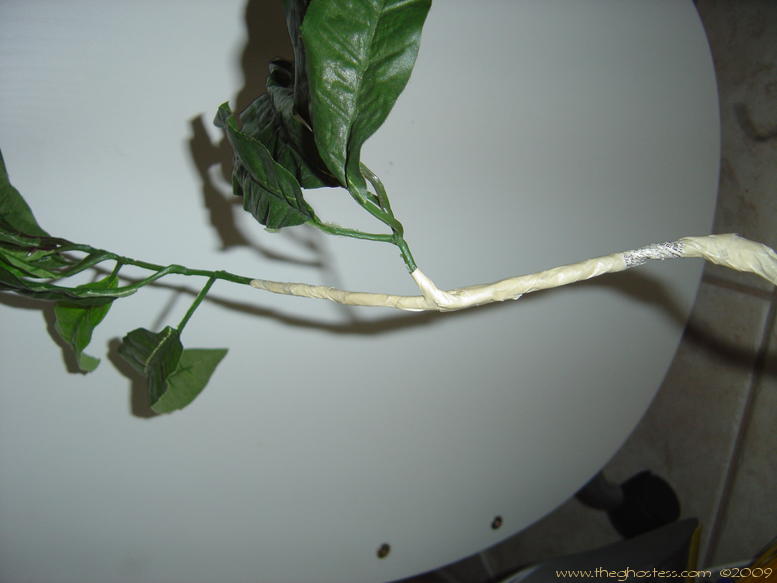
I added more sections of wire, twisting paper
around it and taping as I went. At the ends of the wires, I taped
some leaves from some old silk trees I had on hand. |
 |
 |
 |
 |
I drilled a hole in the top of the skull, and
inserted one of the branches I made. I squeezed a little Gorilla
Glue in there to kind of help it stay put, and when it dried, I taped
over all of it. This picture is farther along in the process as I
kind of forgot to take a picture of that step. |
|
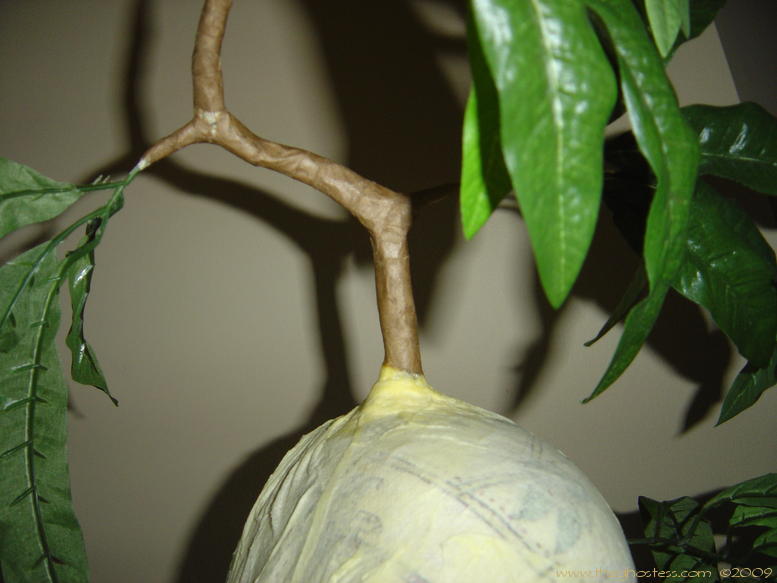
I used paper and masking tape to attach the
smaller branches to the "arm branches". I just added paper until
it was tapered enough. It was finally time to start with the paper
mache. I covered the whole thing with 5 coats of paper and glue.
I use a 50/50 mix of Elmer's all purpose glue and water. I brush
it onto the strips of newspaper/phone book pages with a pastry brush on
an old plate, then smooth it onto the form. |
 |
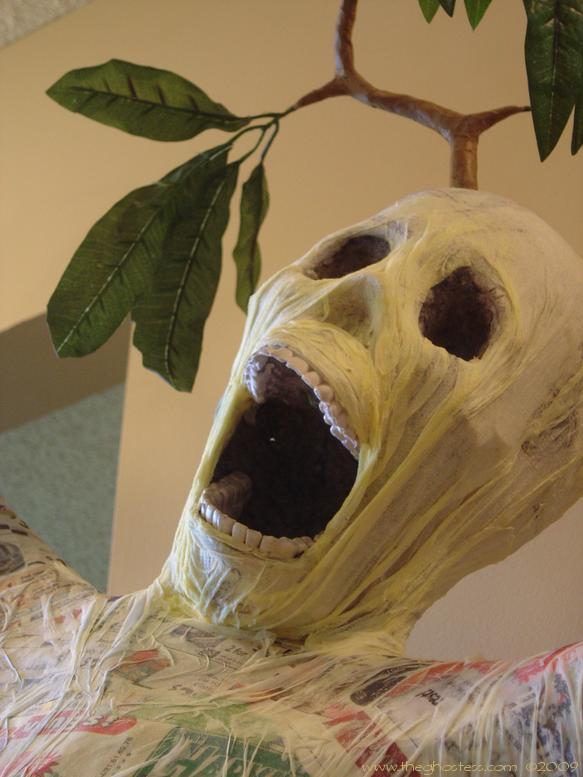 |
I did all of it with newspaper or phone book
pages, except the skull, which I used paper towels on instead for some
withered skin texture. I filled in the open sections in the eye
sockets and mouth with some mache pulp. |
|
Once I got all the major papering done, I
started adding texture. I used some paper napkins dipped in the
glue mixture to give the form some texture. I just kind of worked
it around until it looked right. |
 |
 |
|
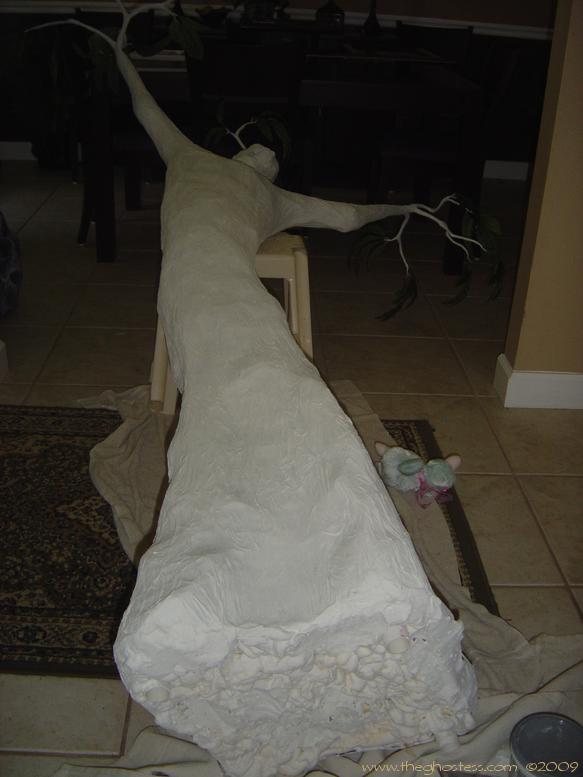
I decided to fill in the
bottom of the tree with Great Stuff to keep vermin out and help keep it
from getting water damage. I sprayed in some, let it dry, then
sprayed more, let it dry, and kept up that until it was completely
closed off. The only part that didn't get filled was the sections
of PVC sticking out at the bottom. This is so I can use rebar to
keep it standing up if I decide to use it outside. |
 |
 |
FINALLY, I am back to work on the tree after a
couple of months' hiatus. I have coated with entire thing (except
the leaves) with 2 coats of Dry-Lok masonry sealer to water-proof it.
This also adds to the texture, weight and overall durability. |
|
I even coated the Great Stuff on the bottom,
just for extra measure. |
 |
 |
I used the automotive sprayer and compressor
for painting the dark blackish-brown base coat to save time and my wrist.
:) It can be done with a brush if you don't have access to a
sprayer. You may have used a sprayer and compressor to stain and seal your deck in the past. The best deck stain and sealer can be applied easily and evenly to your deck with a sprayer. |
|
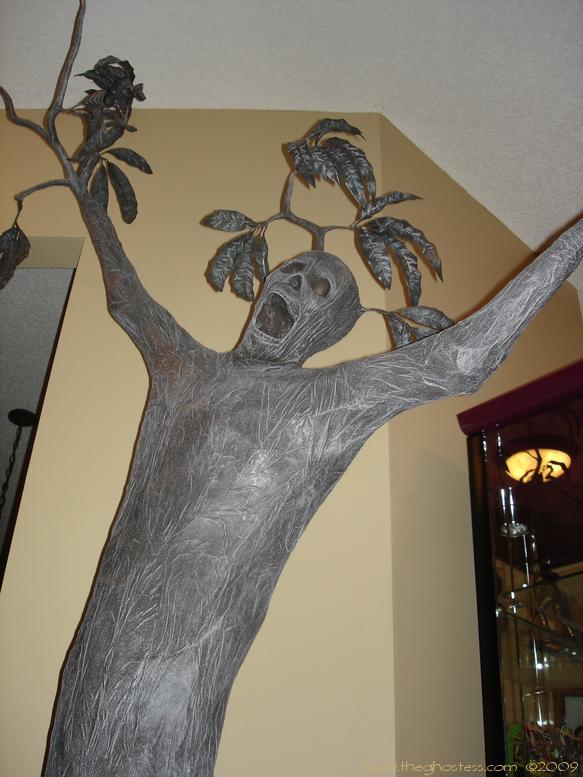
I used a medium gray to drybrush over the base
coat to highlight the texture. |
 |
 |
The last step was to drybrush a little rusty
brown on here and there. It just gave it a little extra depth and
color and made it less gray looking. |
|
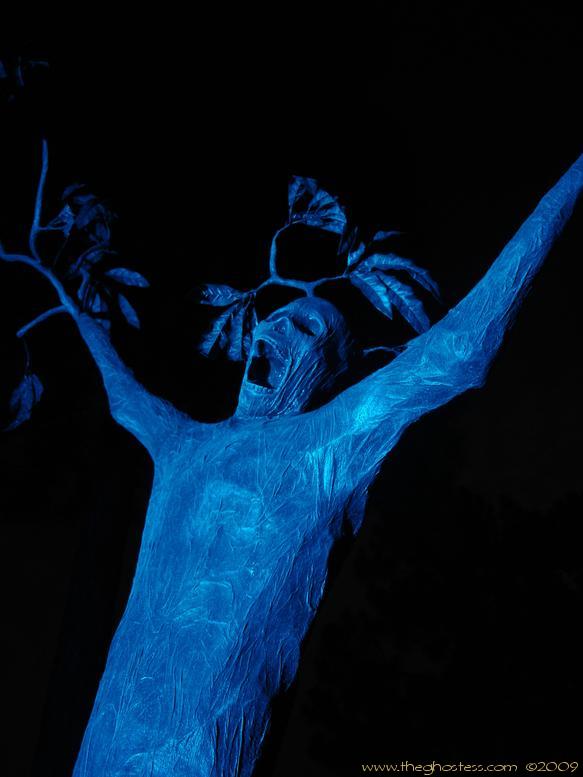
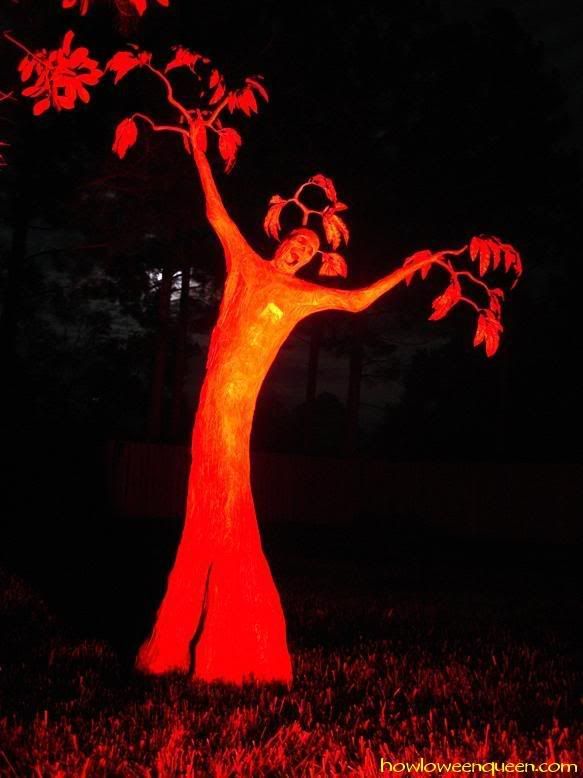
I braved the humidity and the skeeters and
took a few pictures outside with some colored spotlights. I'll get
more when I learn how to use this new camera we have. The pictures
I took with it didn't look as good as the ones I took with the little
older Sony, but I haven't figured out the settings on the new Sony SLR
yet. These pictures are all from the old camera. Time for
some anti-itch ointment... the 'lil bloodsuckers were really biting
tonight! |
 |
 |
|